Settlements
Settlement Screen
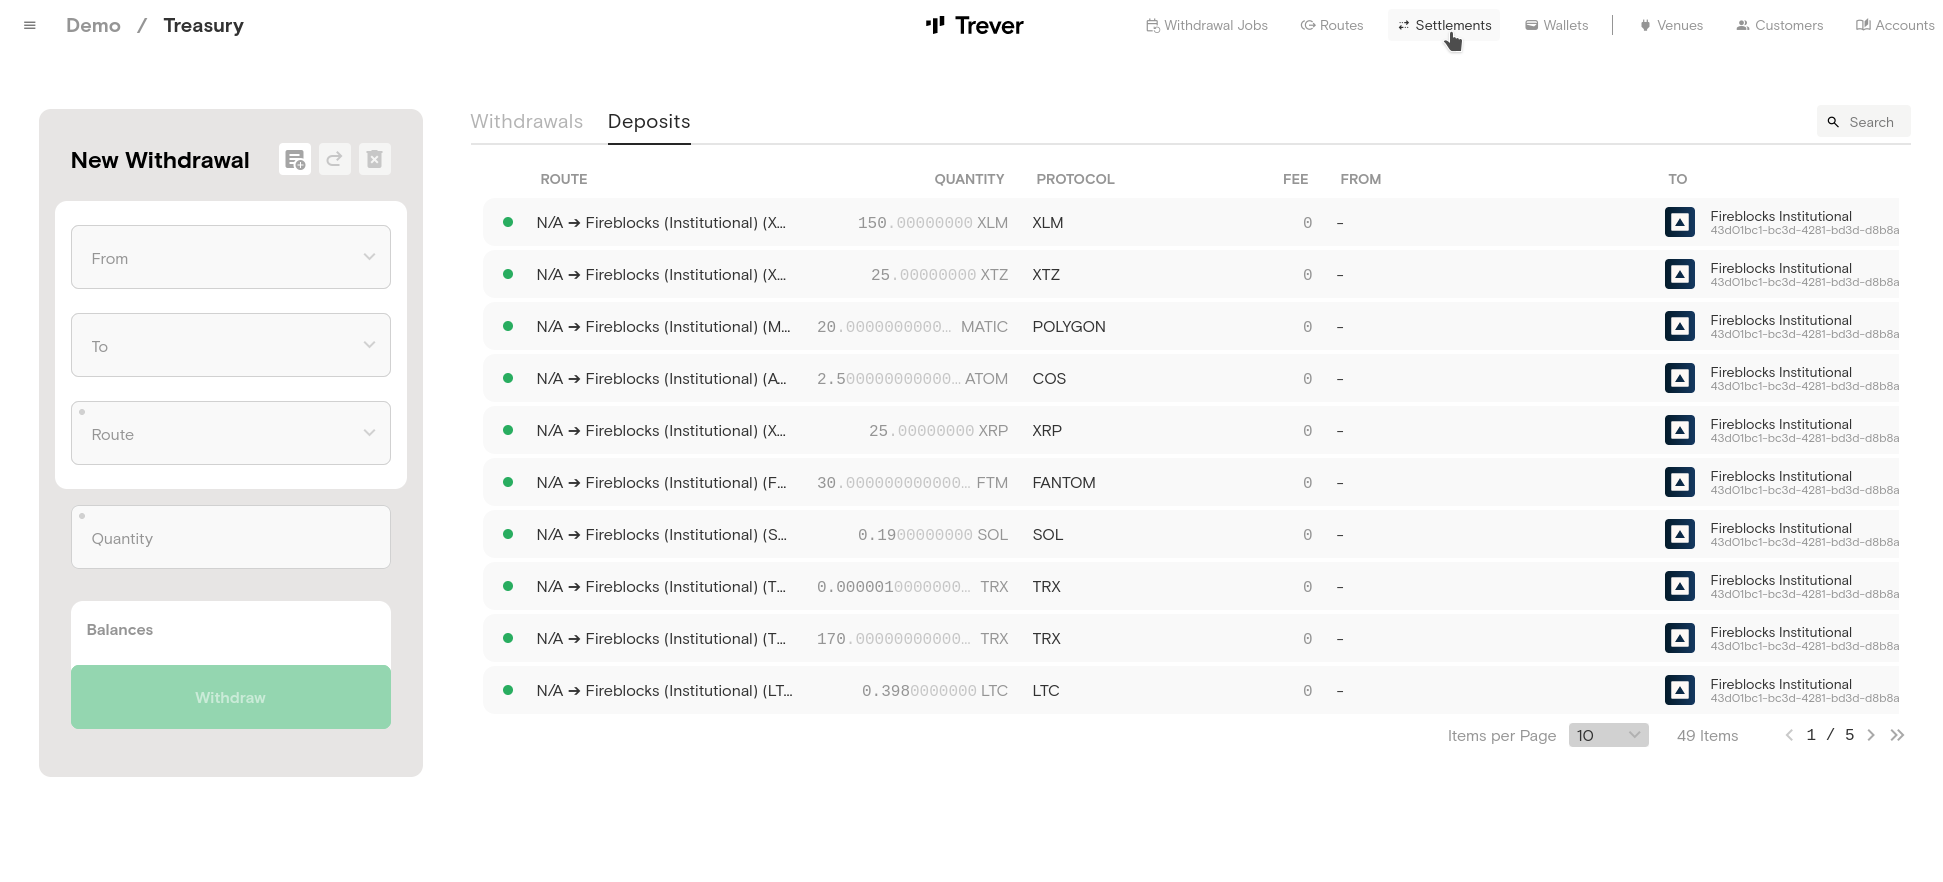
- To create a new settlement, go to the Treasury screen in the Trever app and click
Settlementsin the top right corner of the Treasury screen.
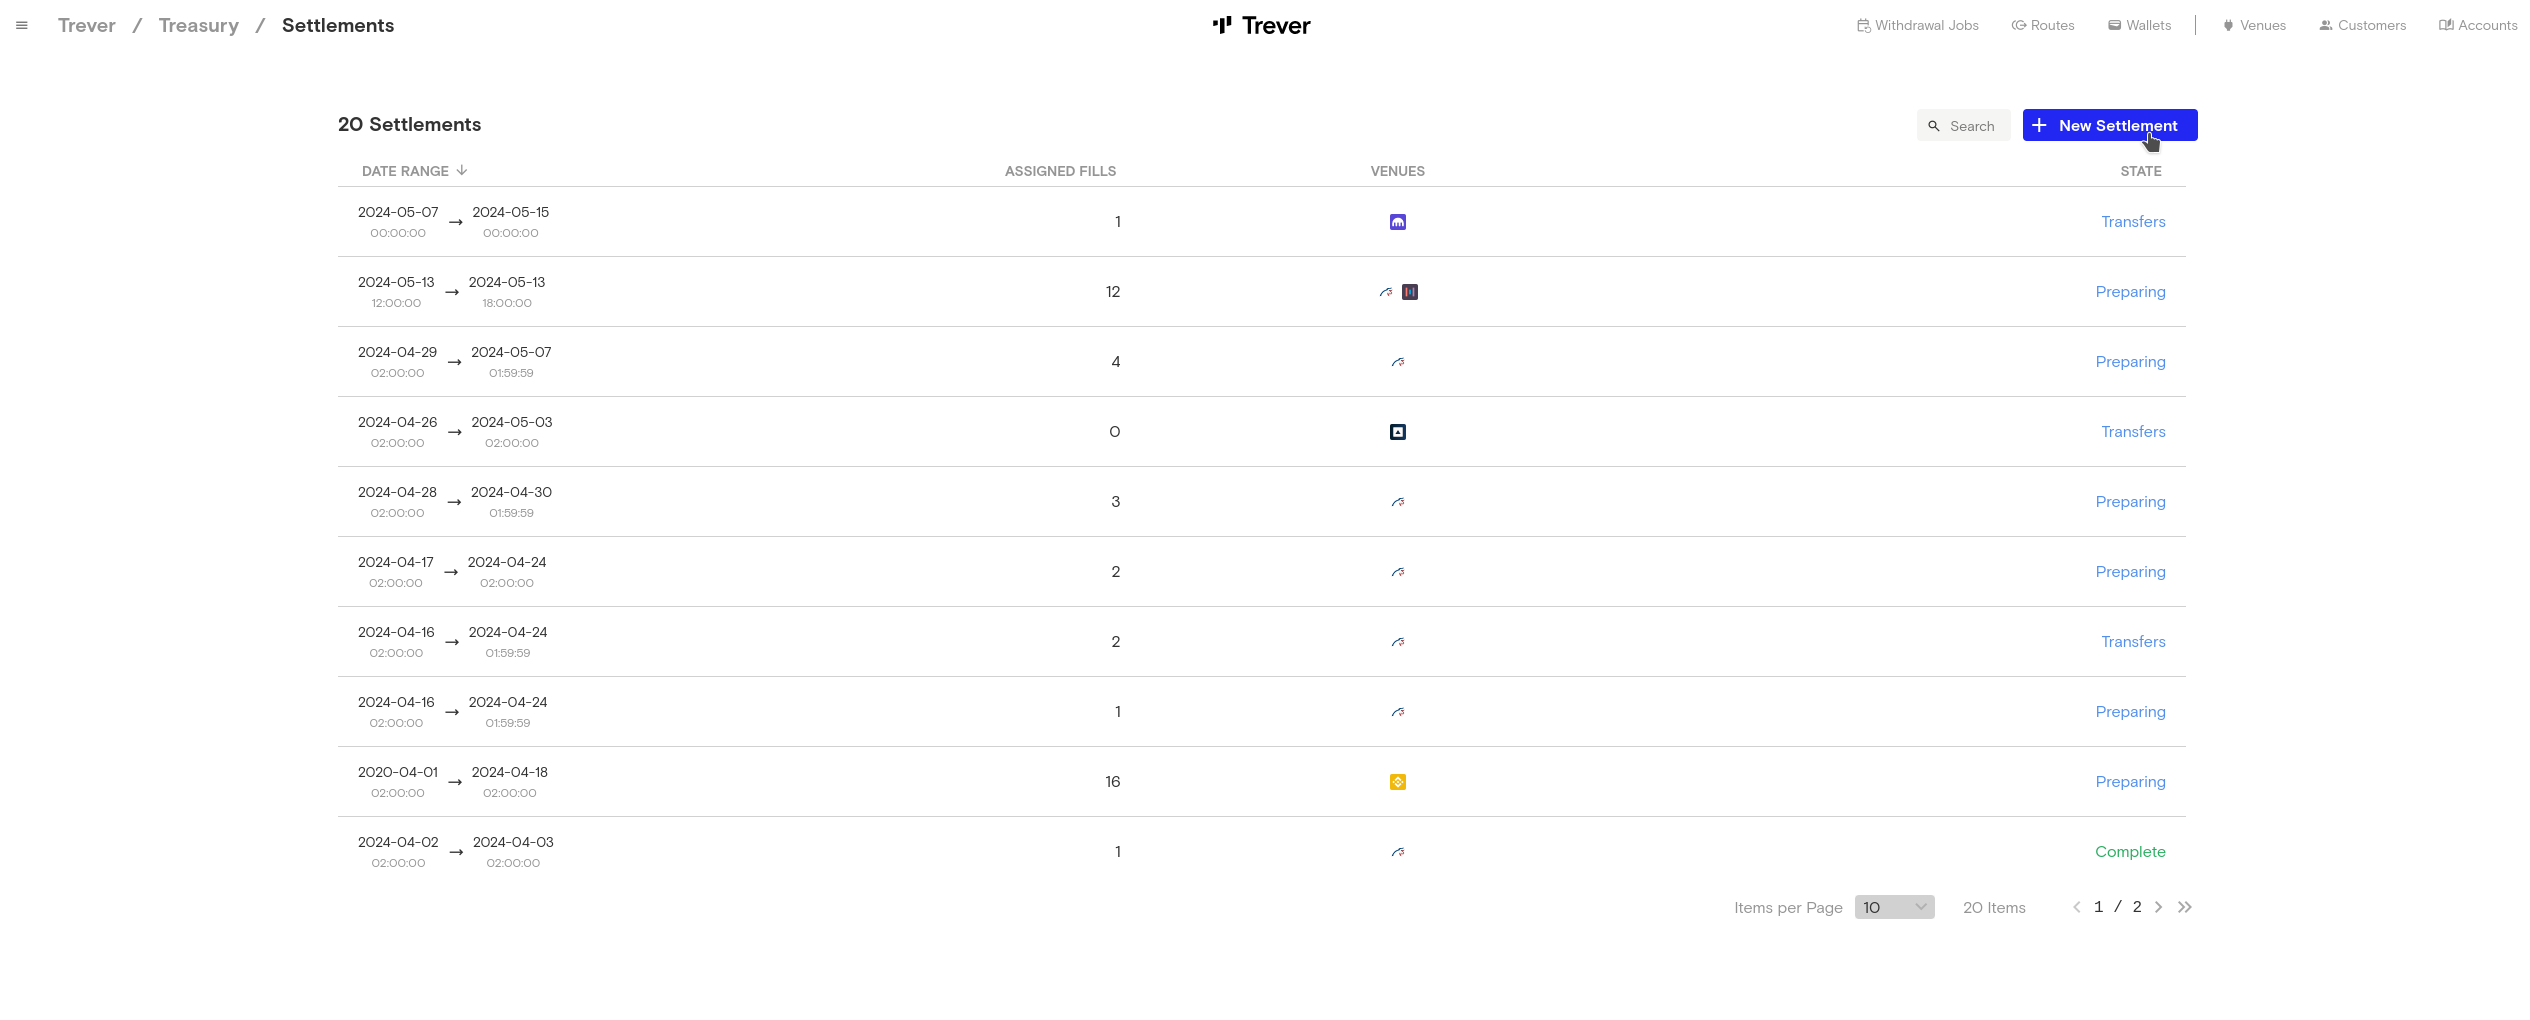
- Click the
New Settlementbutton.
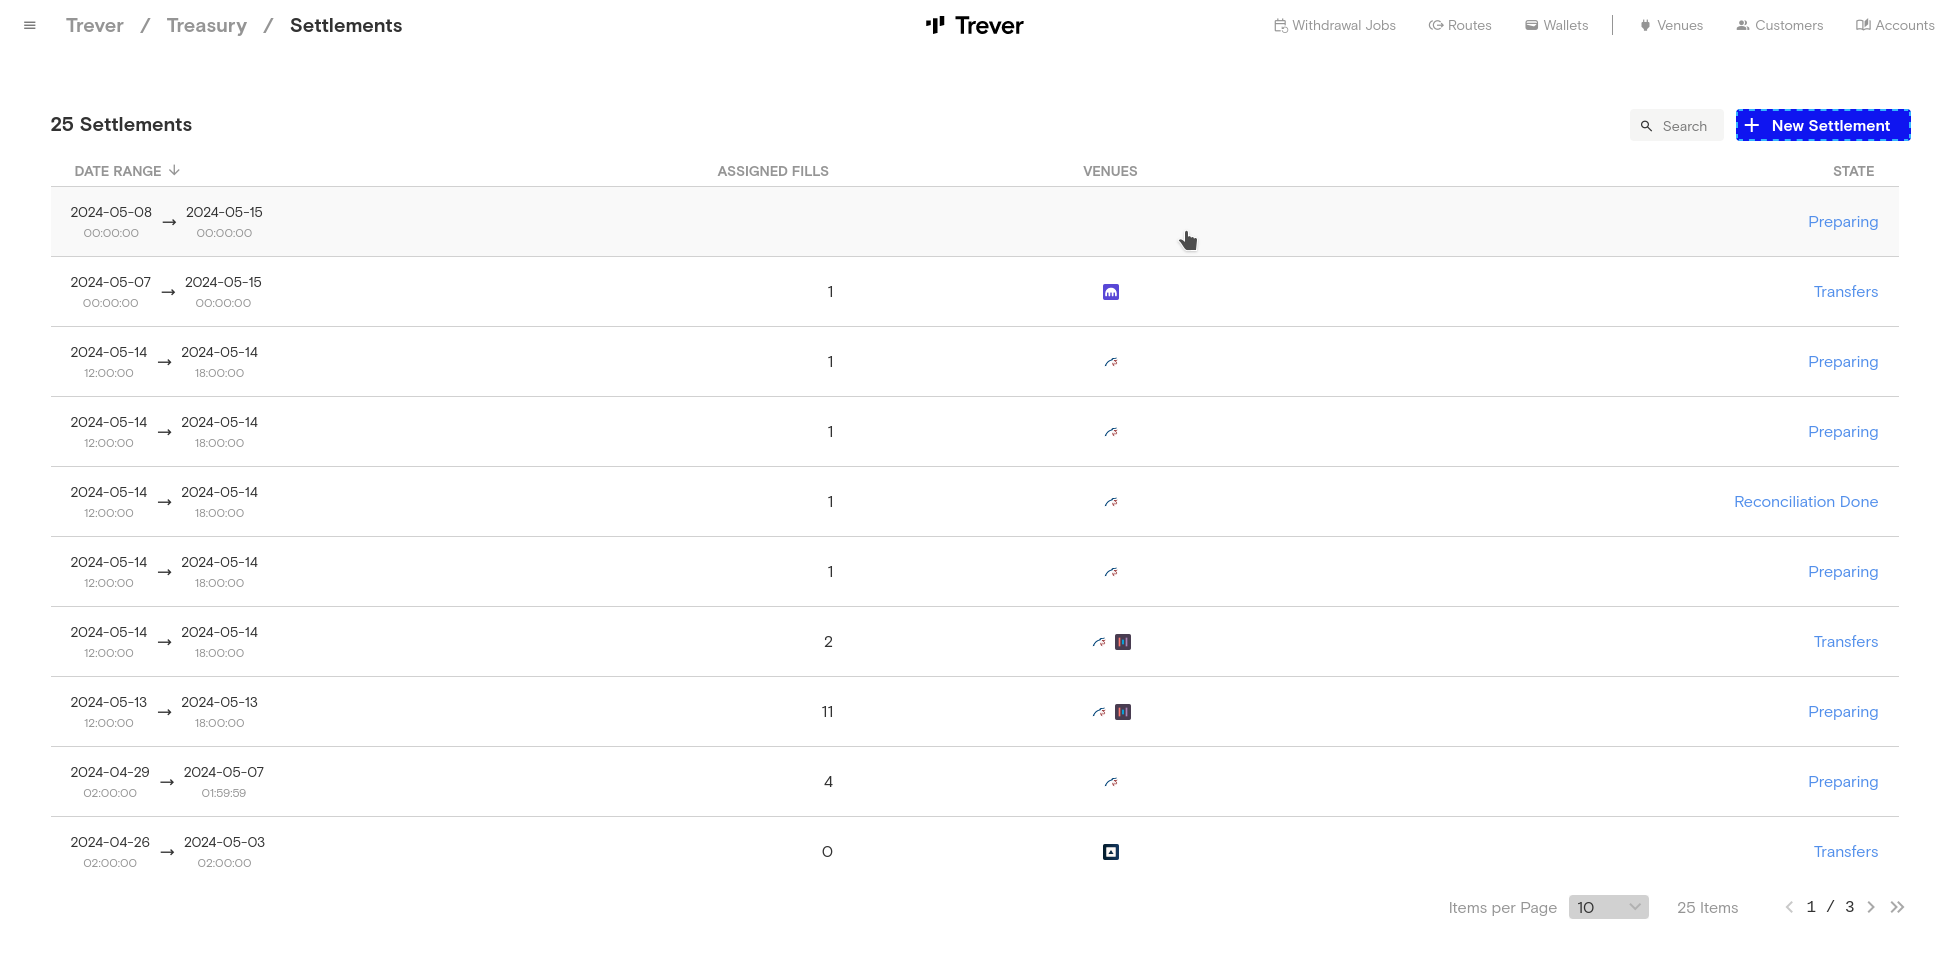
- The newly created settlement will appear in the list with the status
Preparing.
Fills
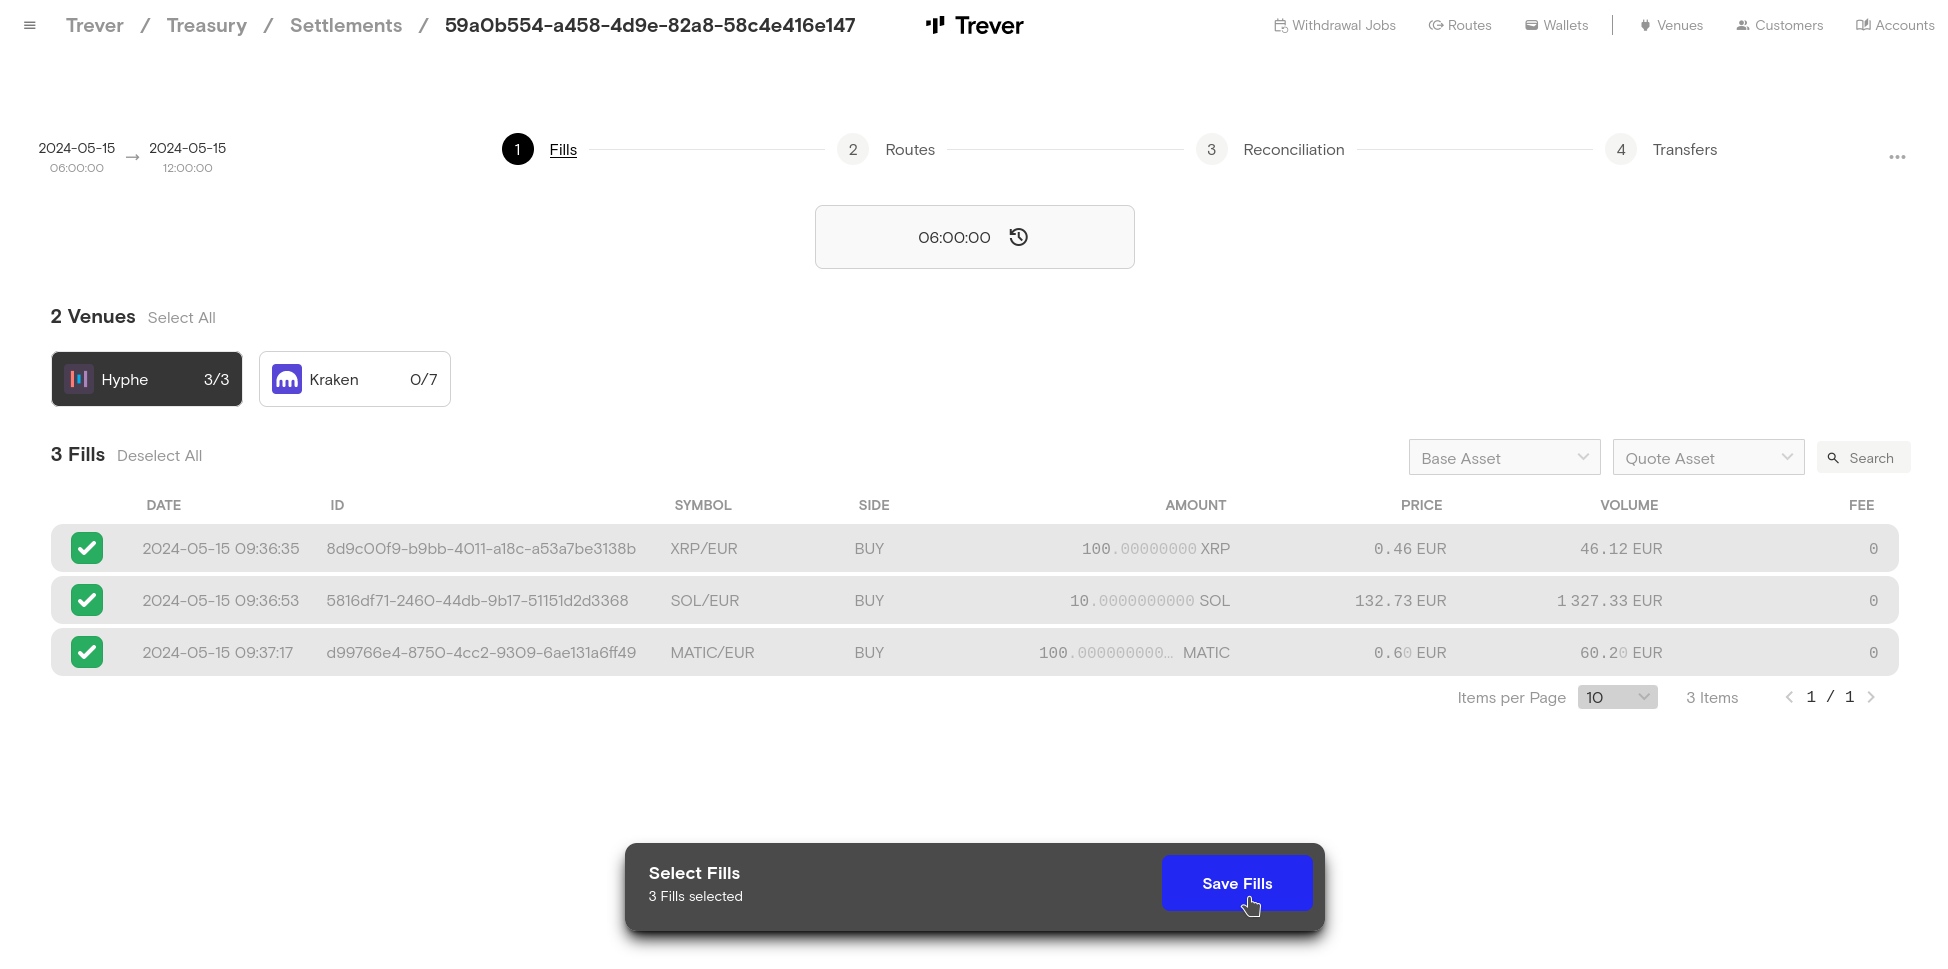
- The Settlement dialog now shows the user all available fills for the selected time range. The available fills are grouped by their locations. The user can switch between the venues and select or deselect the fills.
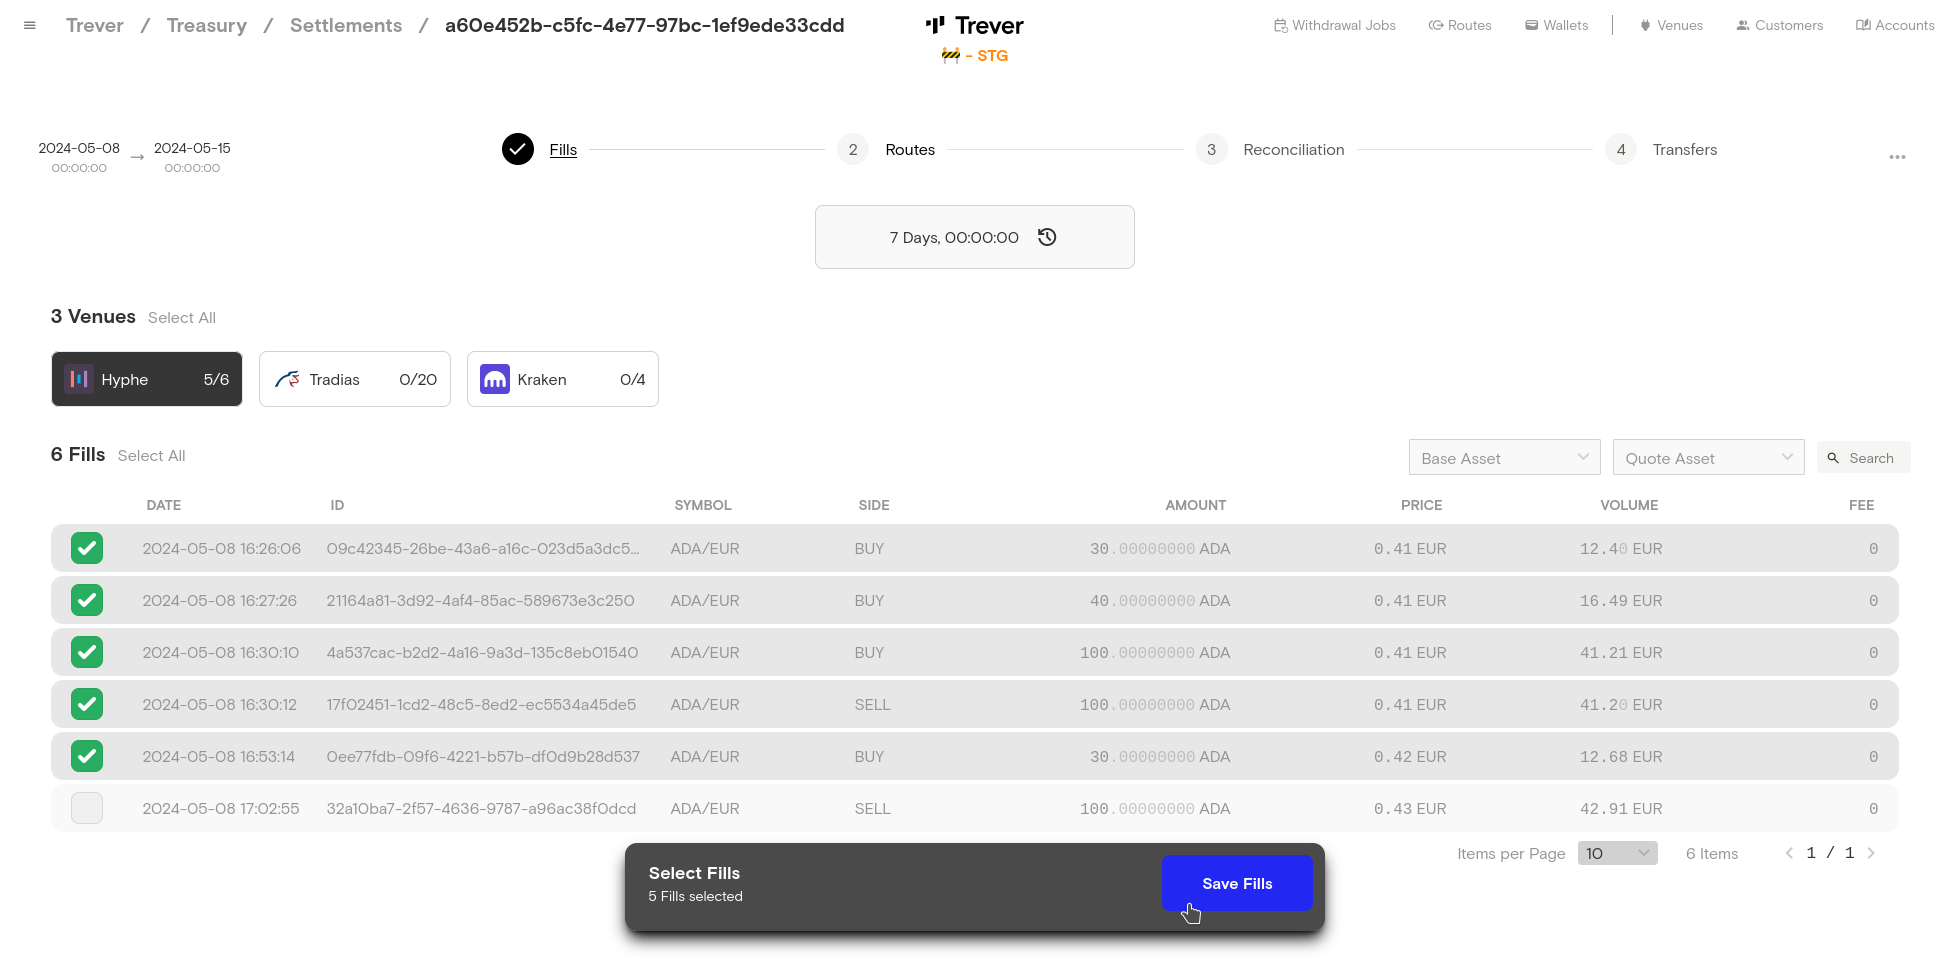
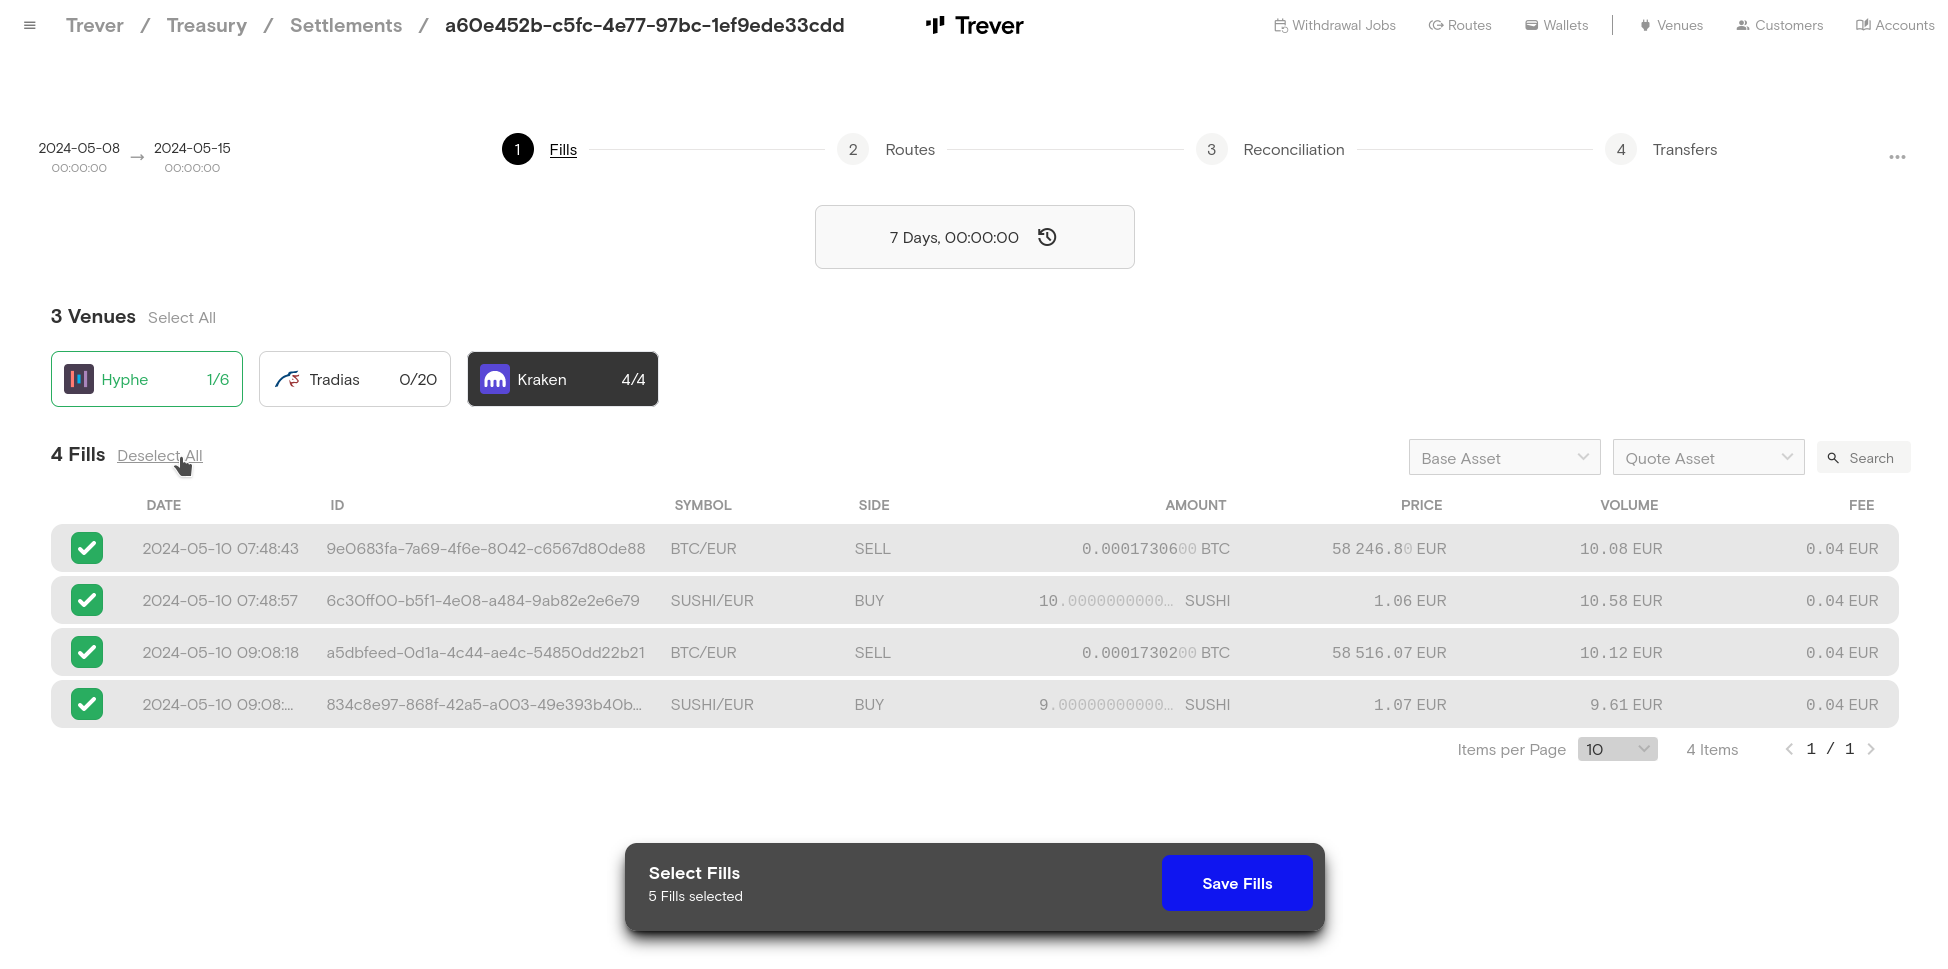
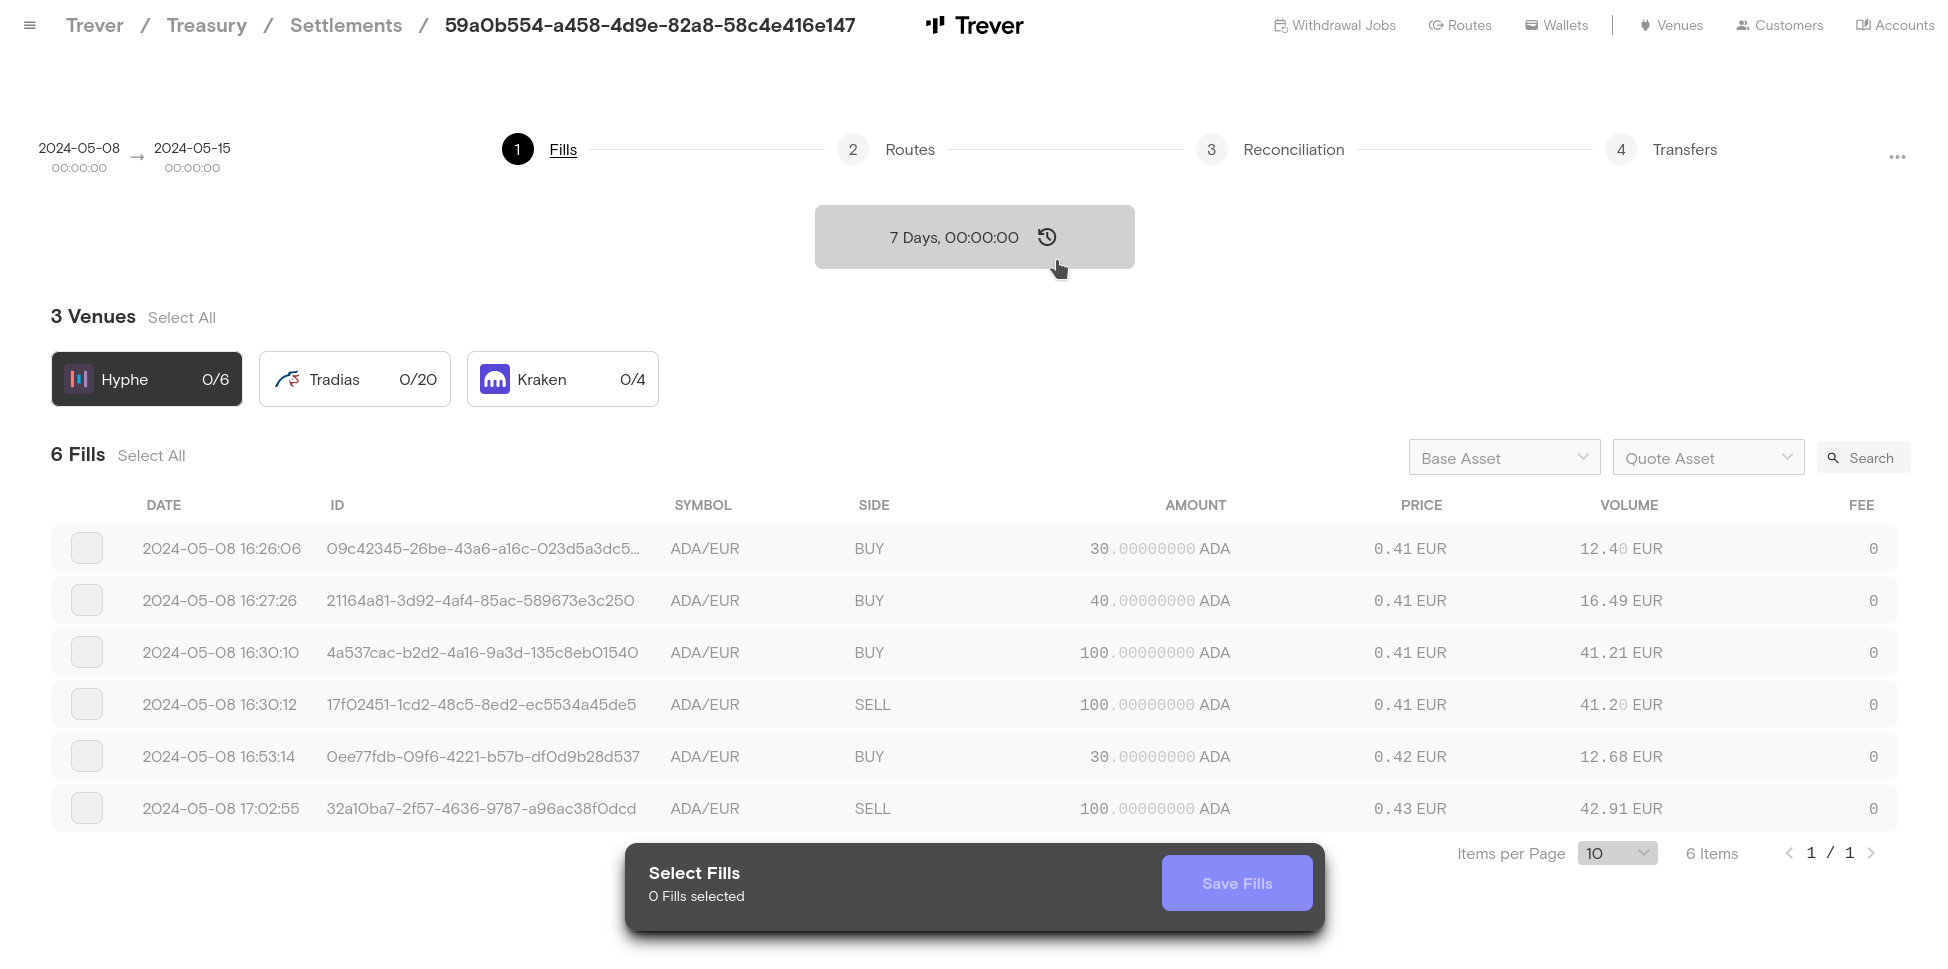
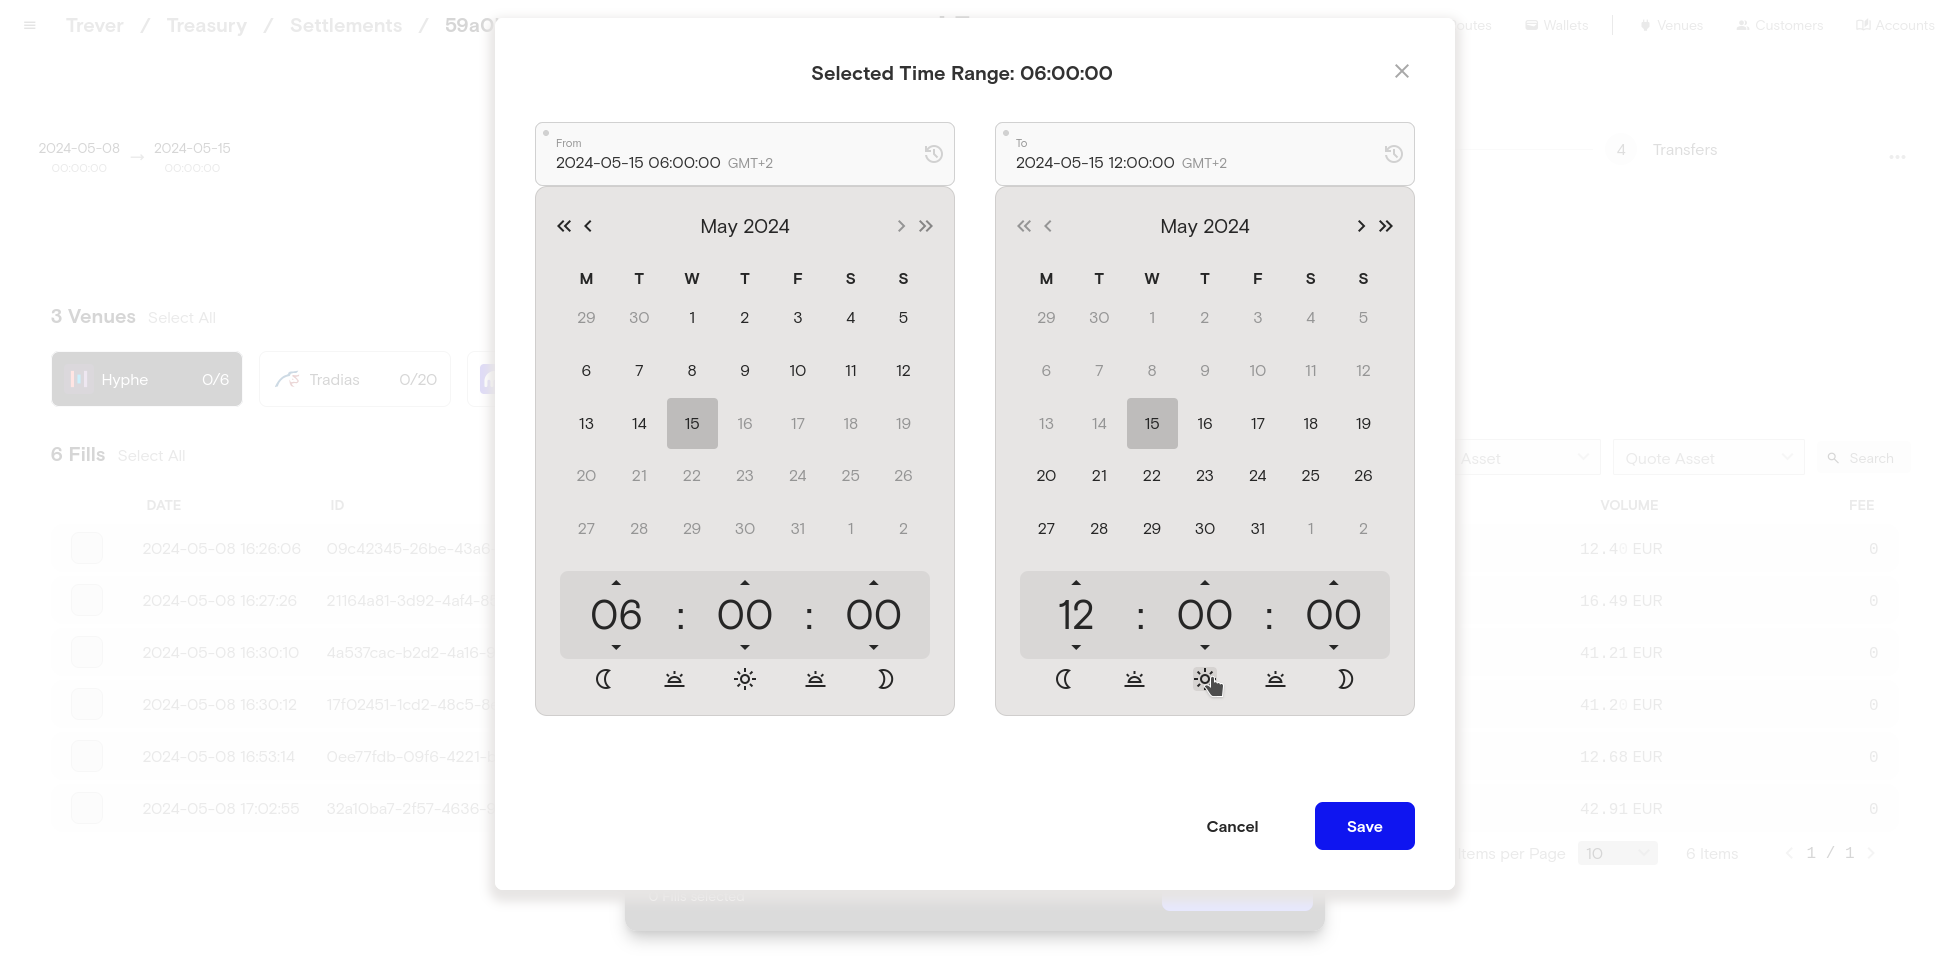
- In this example, the date picker is clicked to select a short time range of the same day to settle the latest trades.
- Click ‘Save Fills’ when all the fills to be settled are selected.
Parts
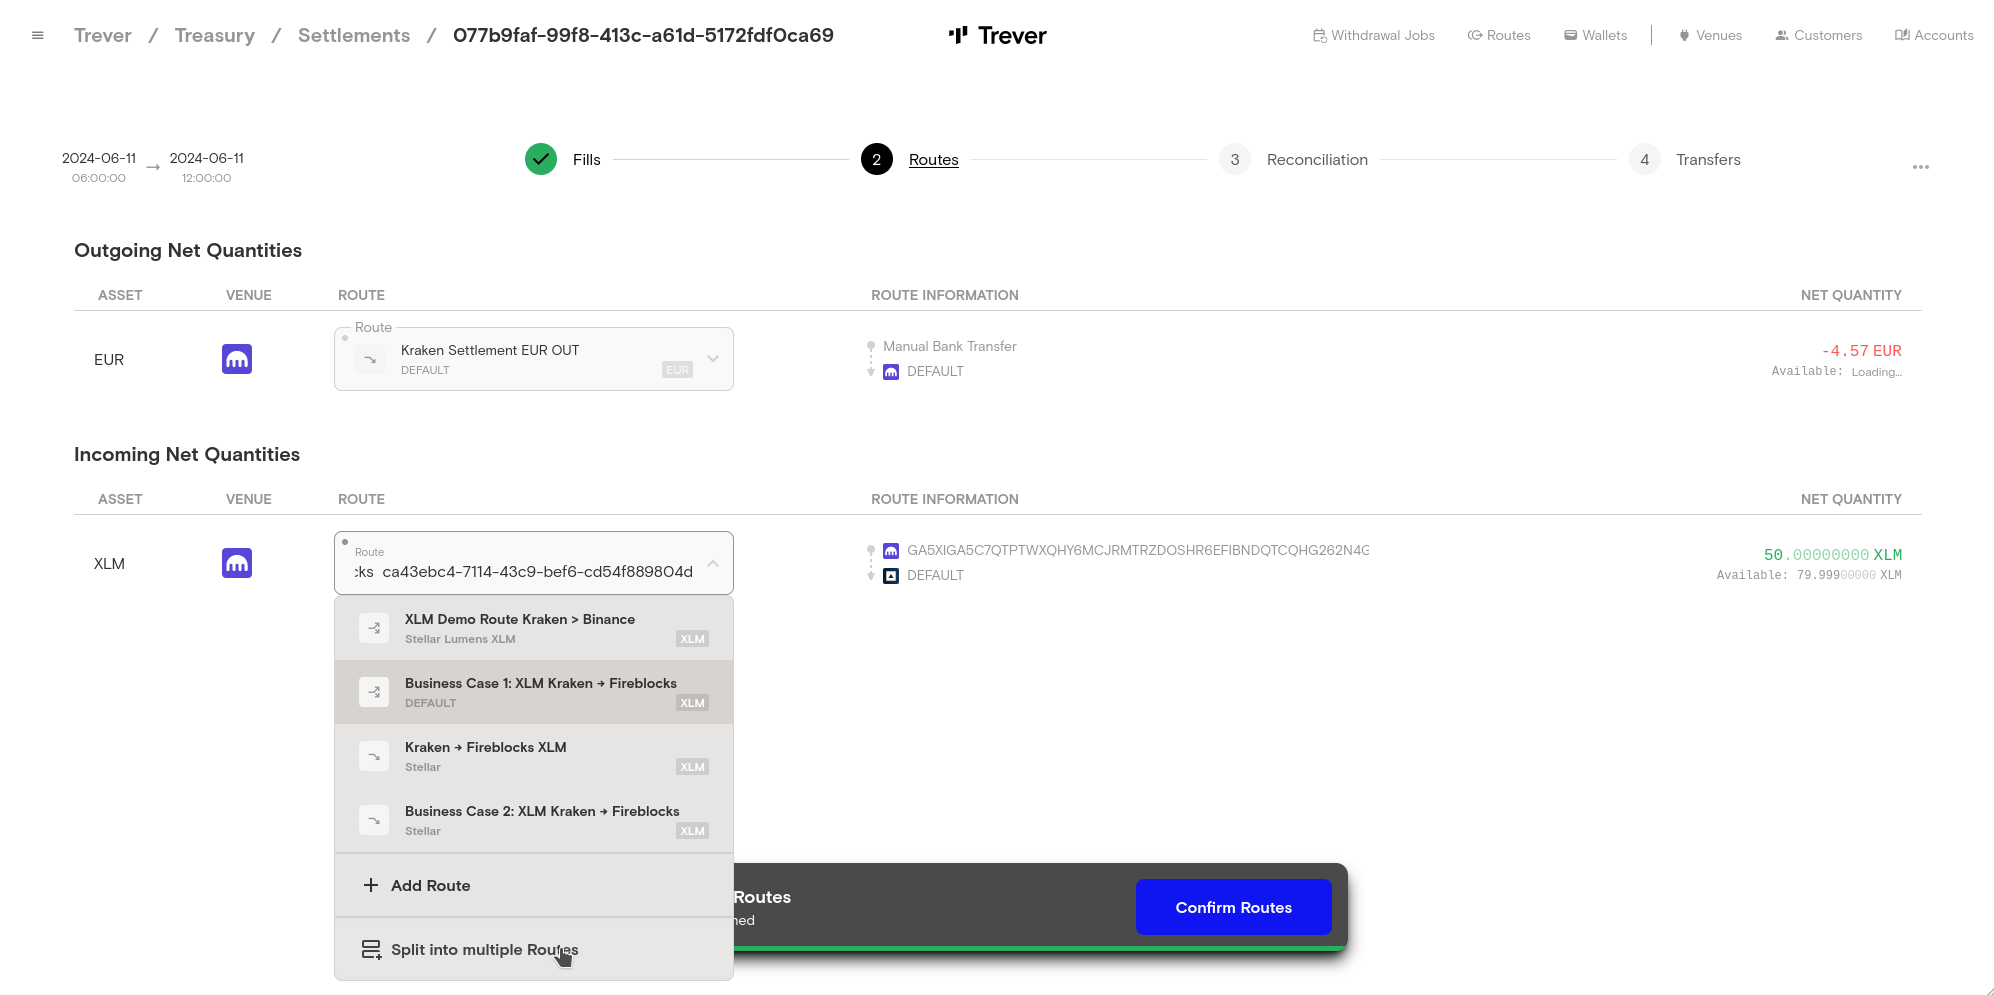
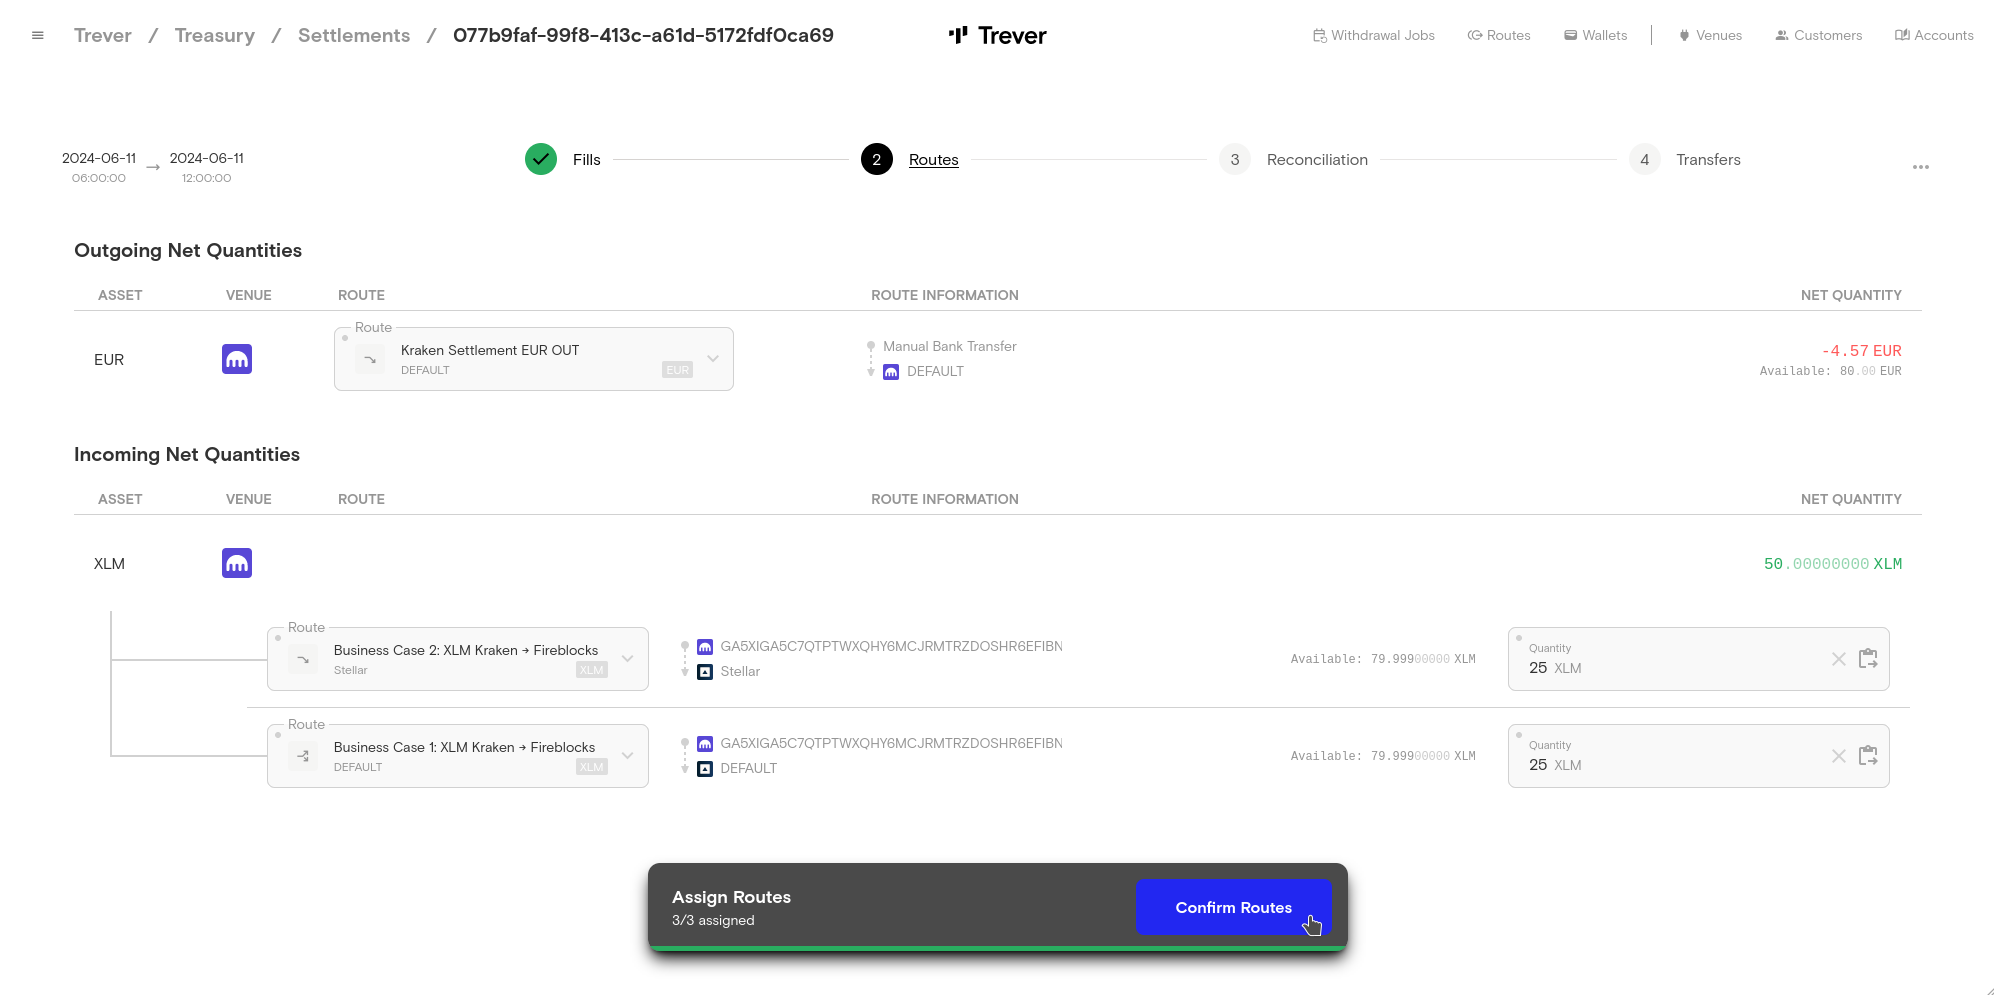
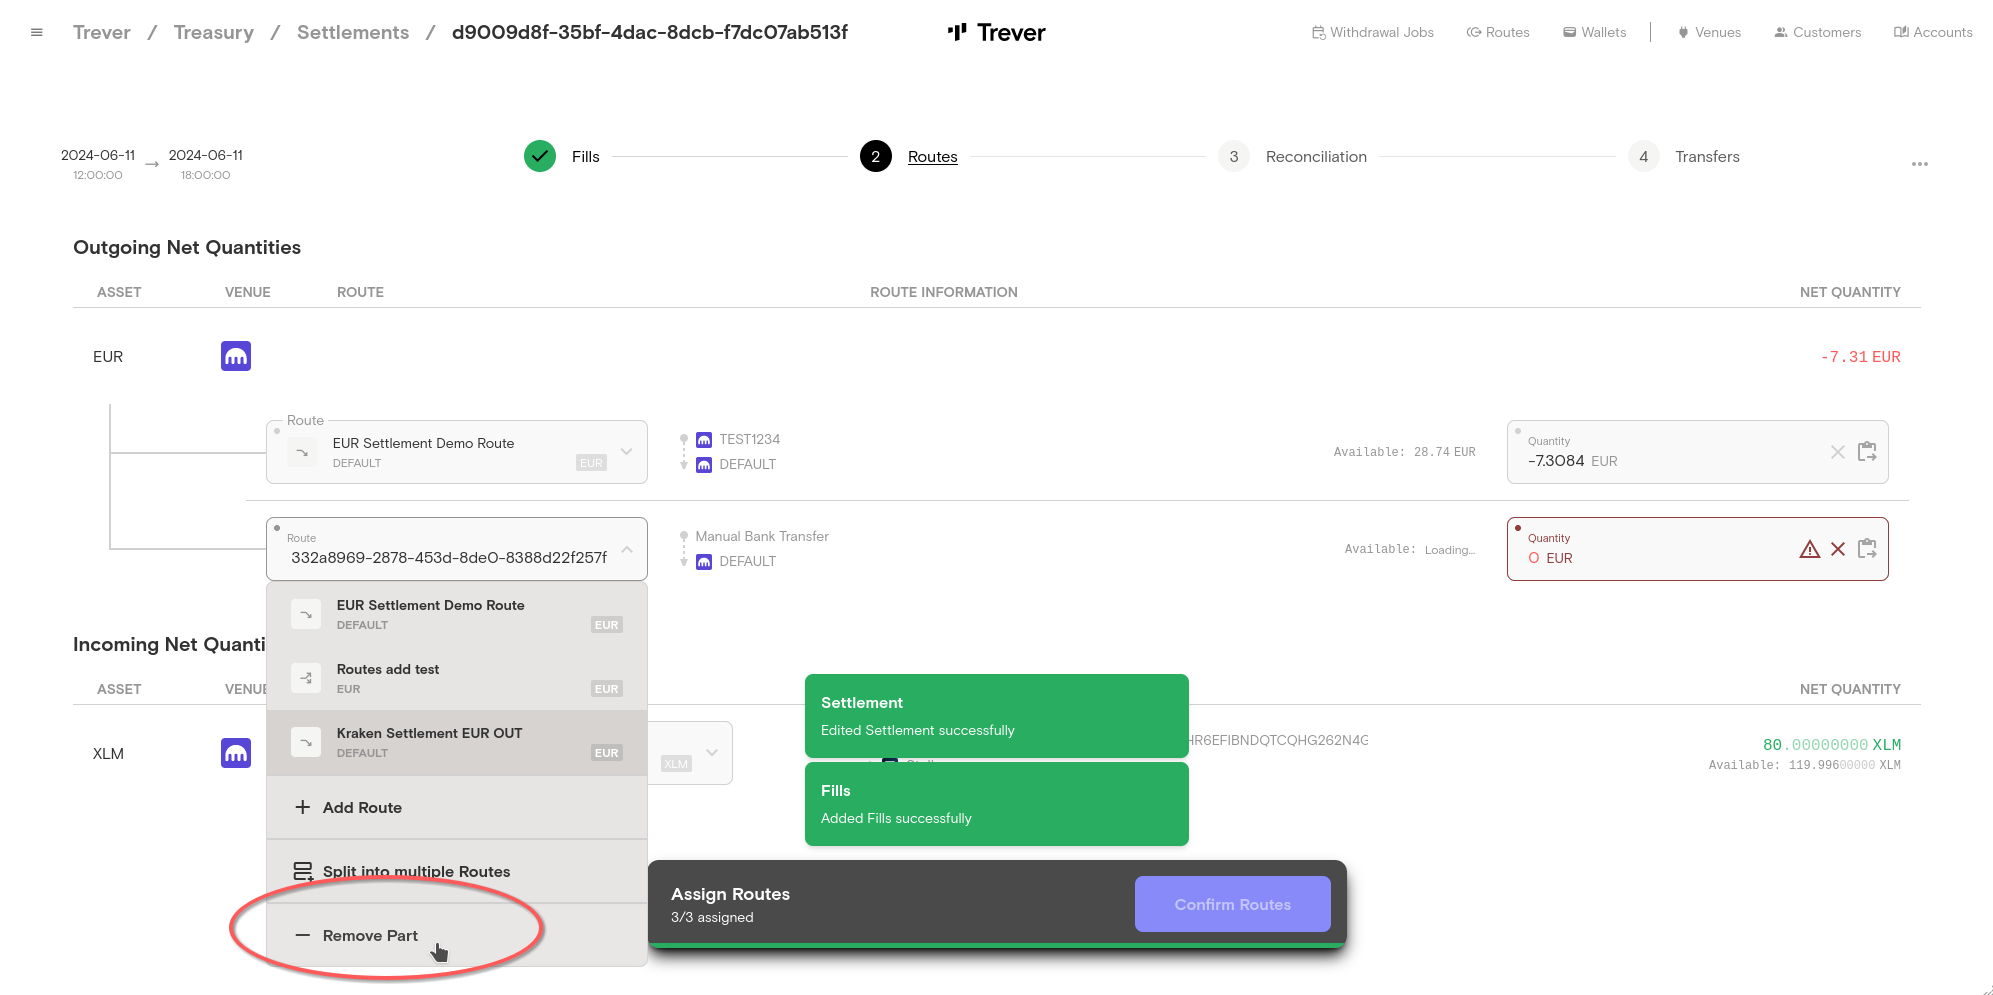
6.1. It is possible to select several routes for a net quantity and to split the amount to be transferred.
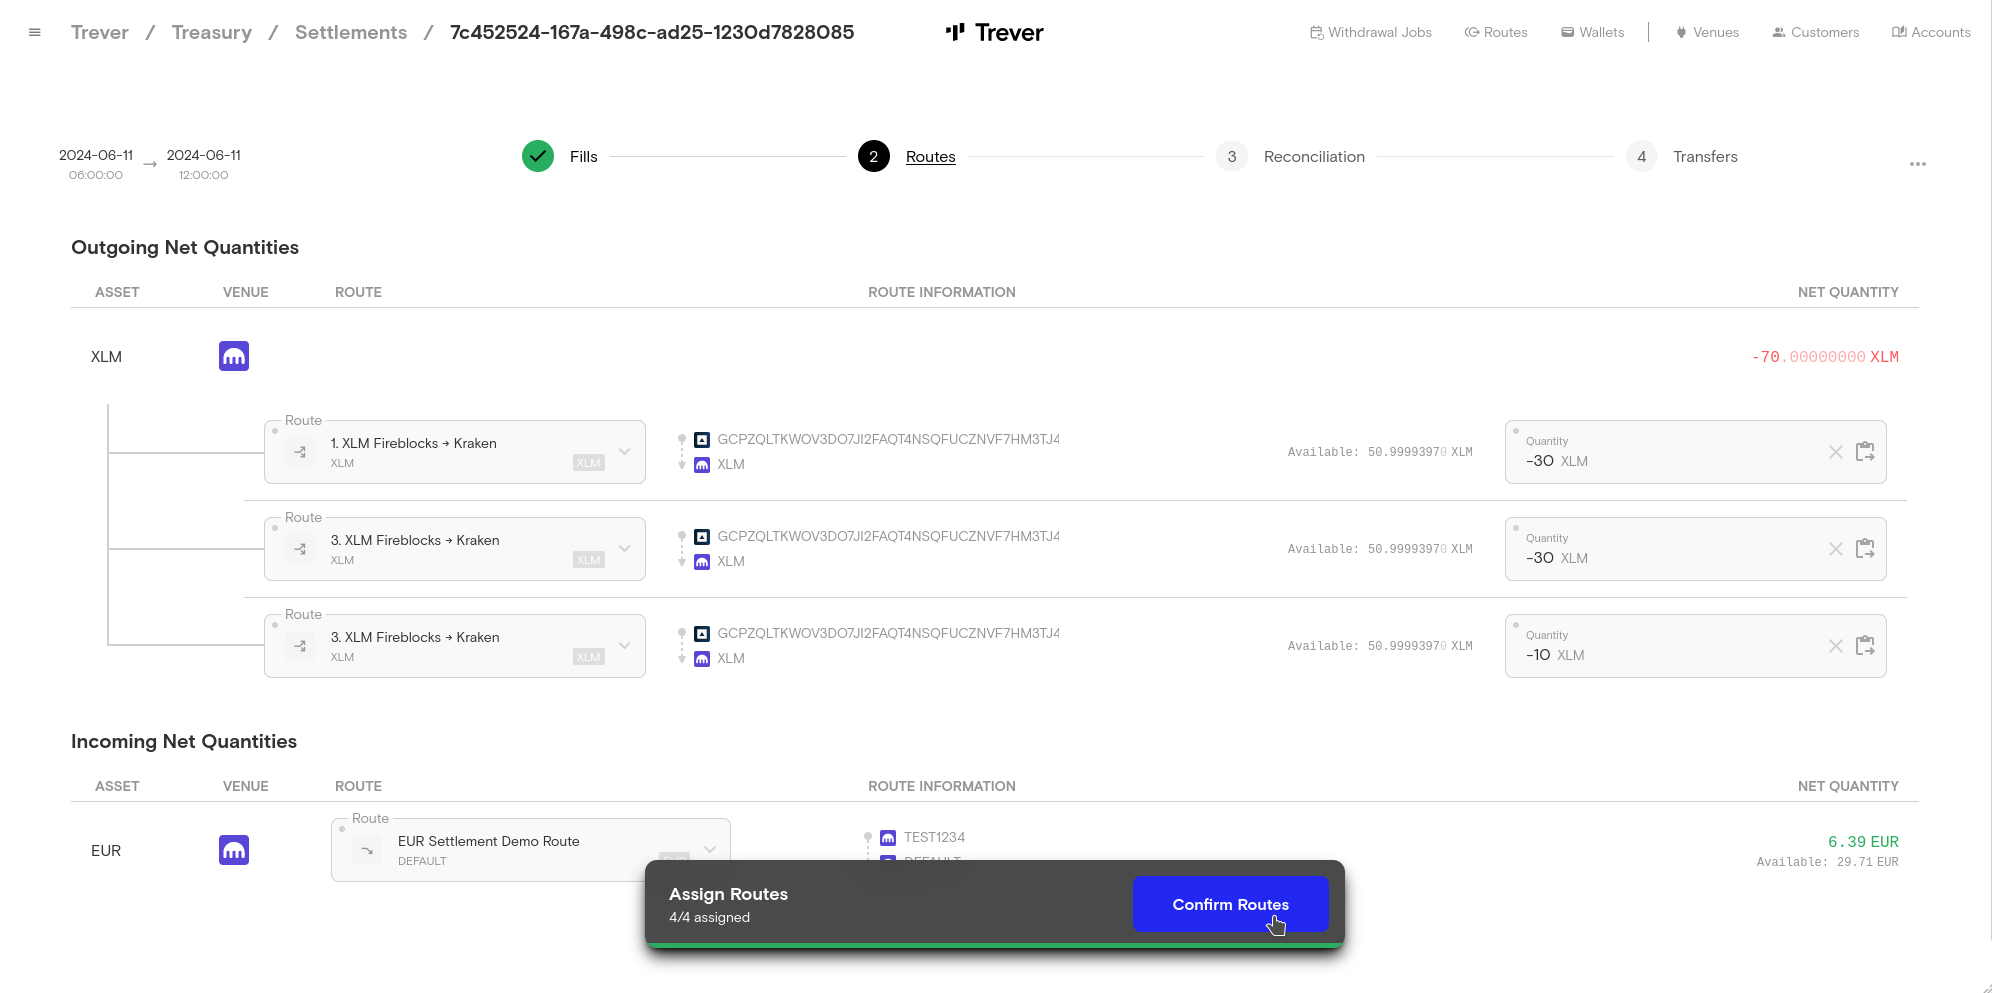
 The same can of course also be done for outgoing transfers.
 6.2. This part can also be removed again using the drop-down menu.
Routes
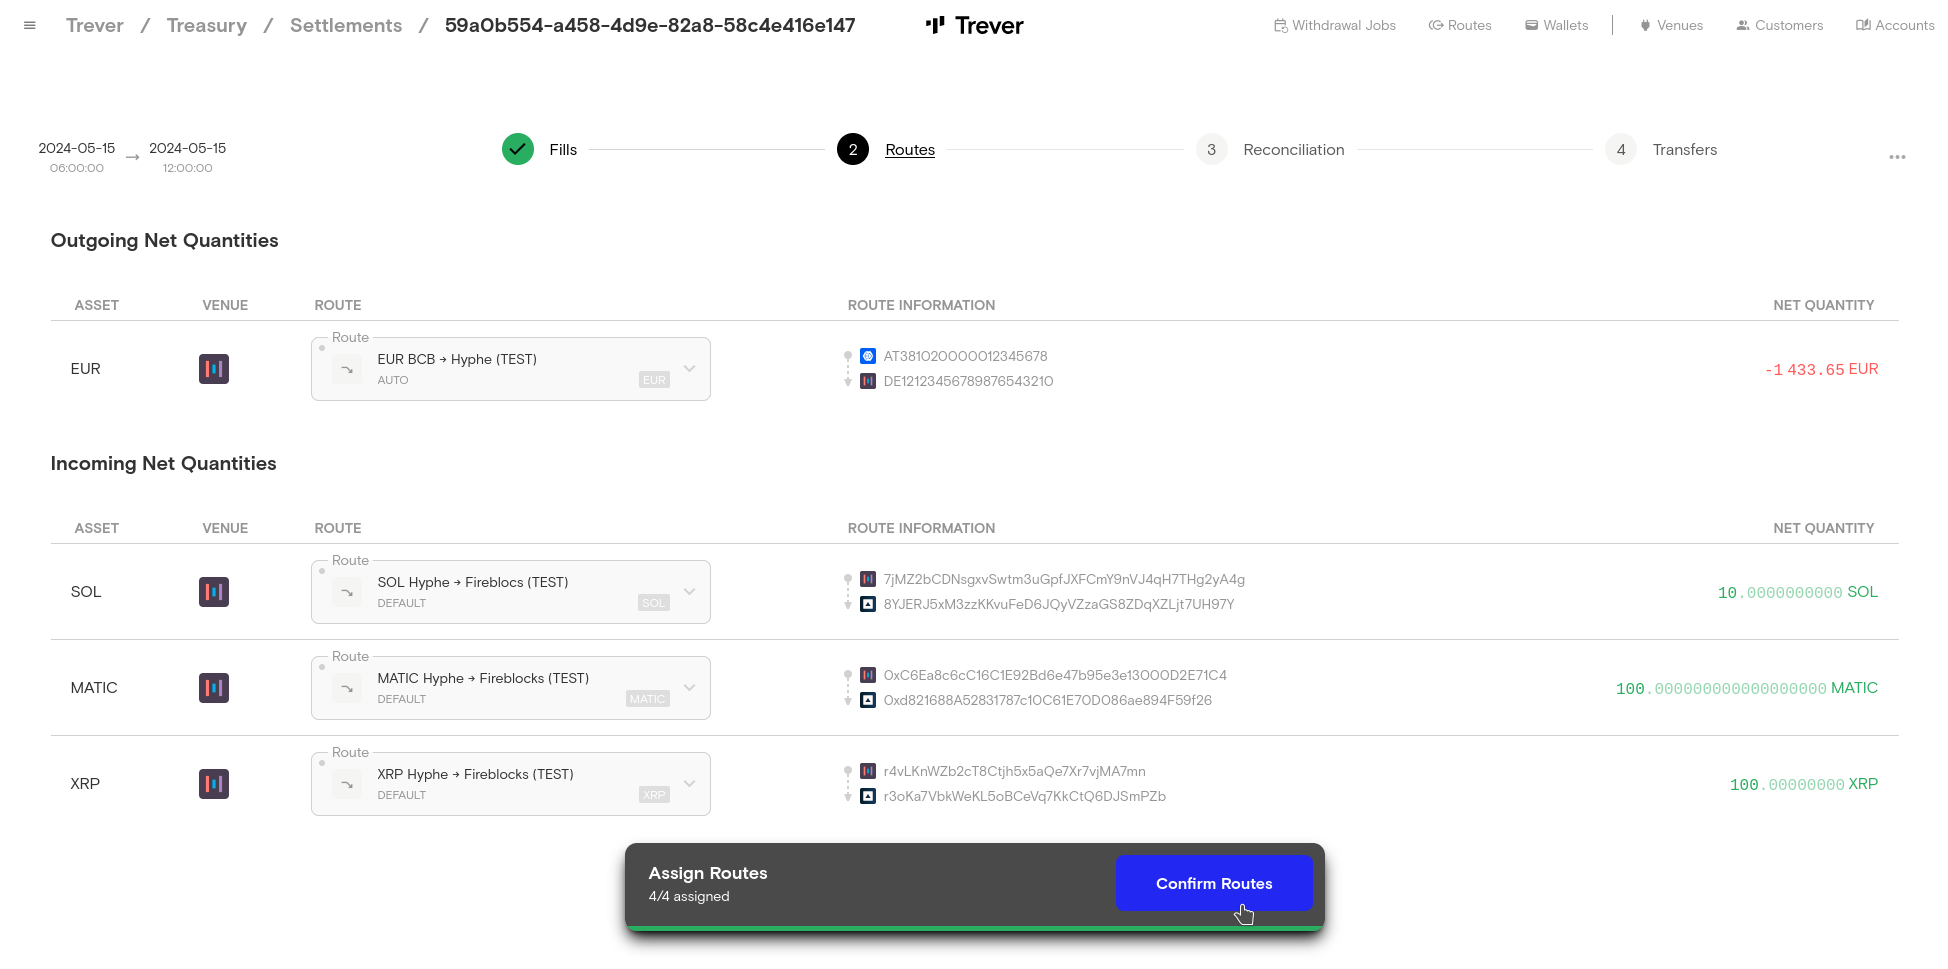
- In this example, the user transfers Fiat to Hyphe and receives SOL, MATIC and XRP in return. Therefore, the user has created wallets in Tever that represent his own SOL, MATIC and XRP wallets on Fireblocks. These wallets refer to the running treasury service of the integrated Fireblocks venue in this workspace and are therefore INTERNAL wallets of type VENUE. He did the same for his Fiat Venue (in this example we use BCB).
Reconciliation
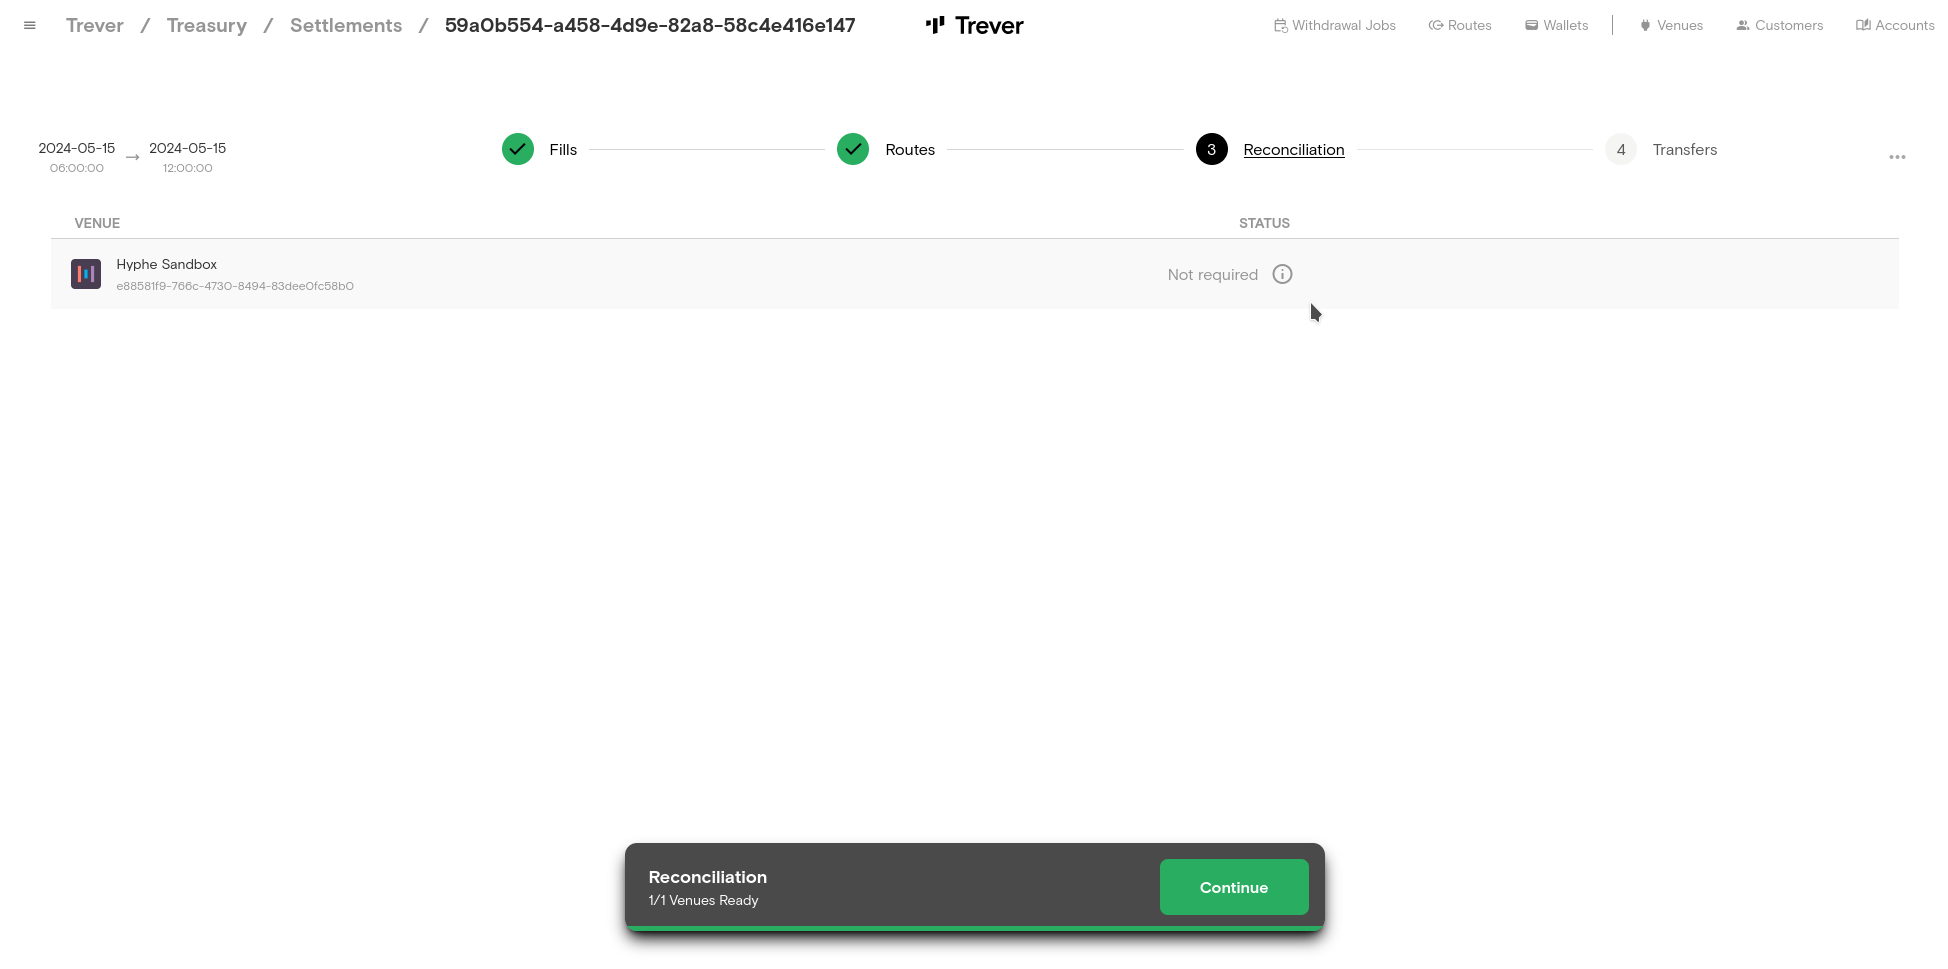
- The next step is Reconciliation. While Hyphe does not require reconciliation other venues do.
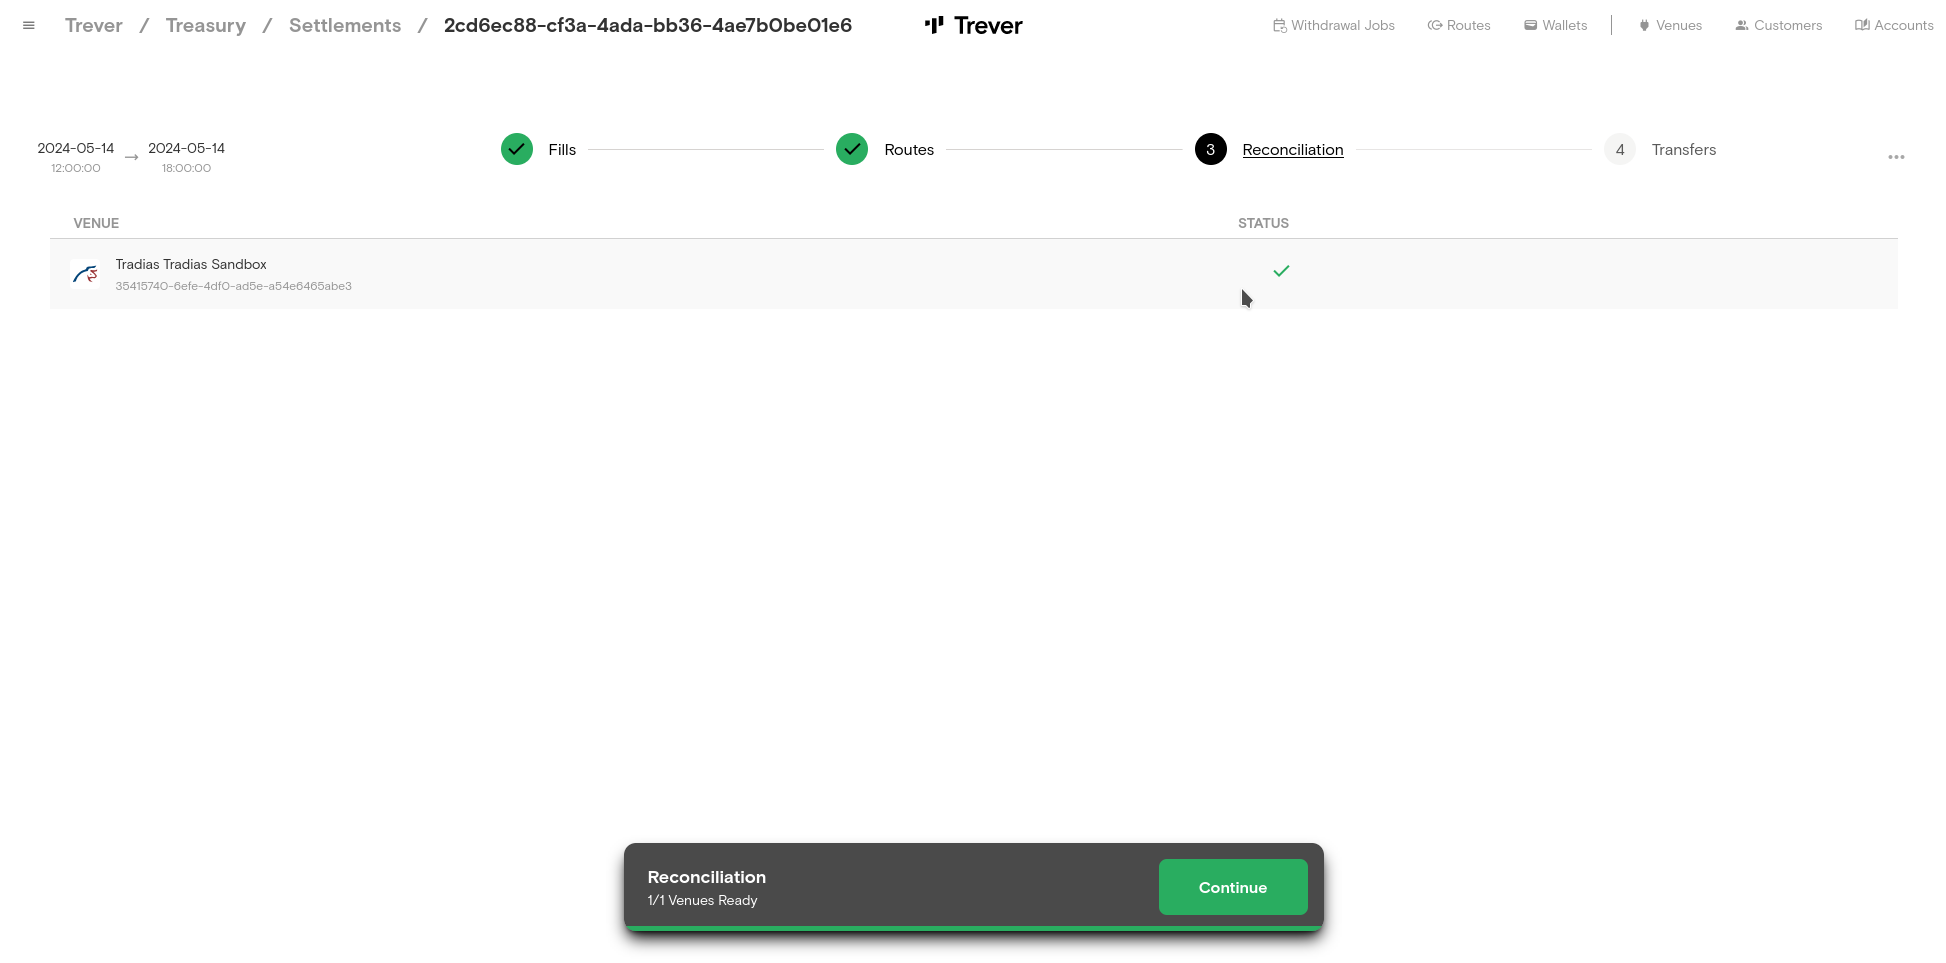
In the case of Tradias, reconciliation is done via an endpoint at Tradias. Tradias checks whether the specified origin addresses match those specified in the settlement contract.
Transfers
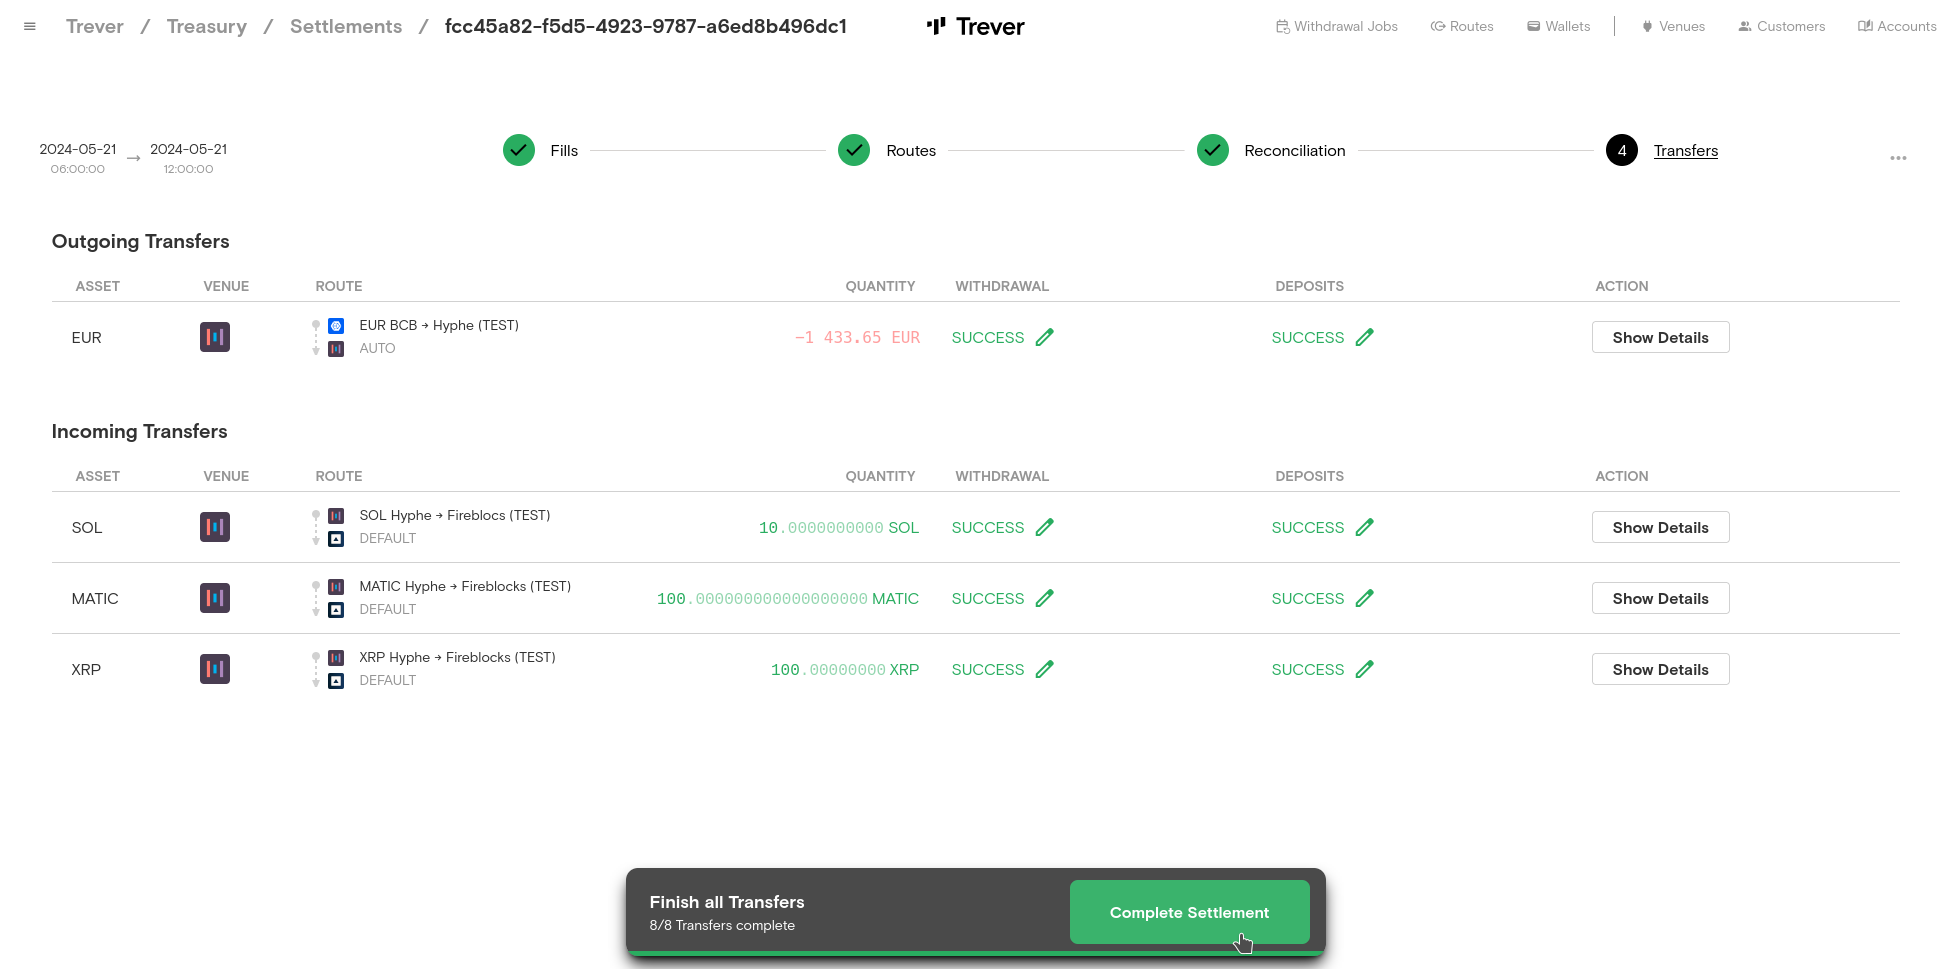
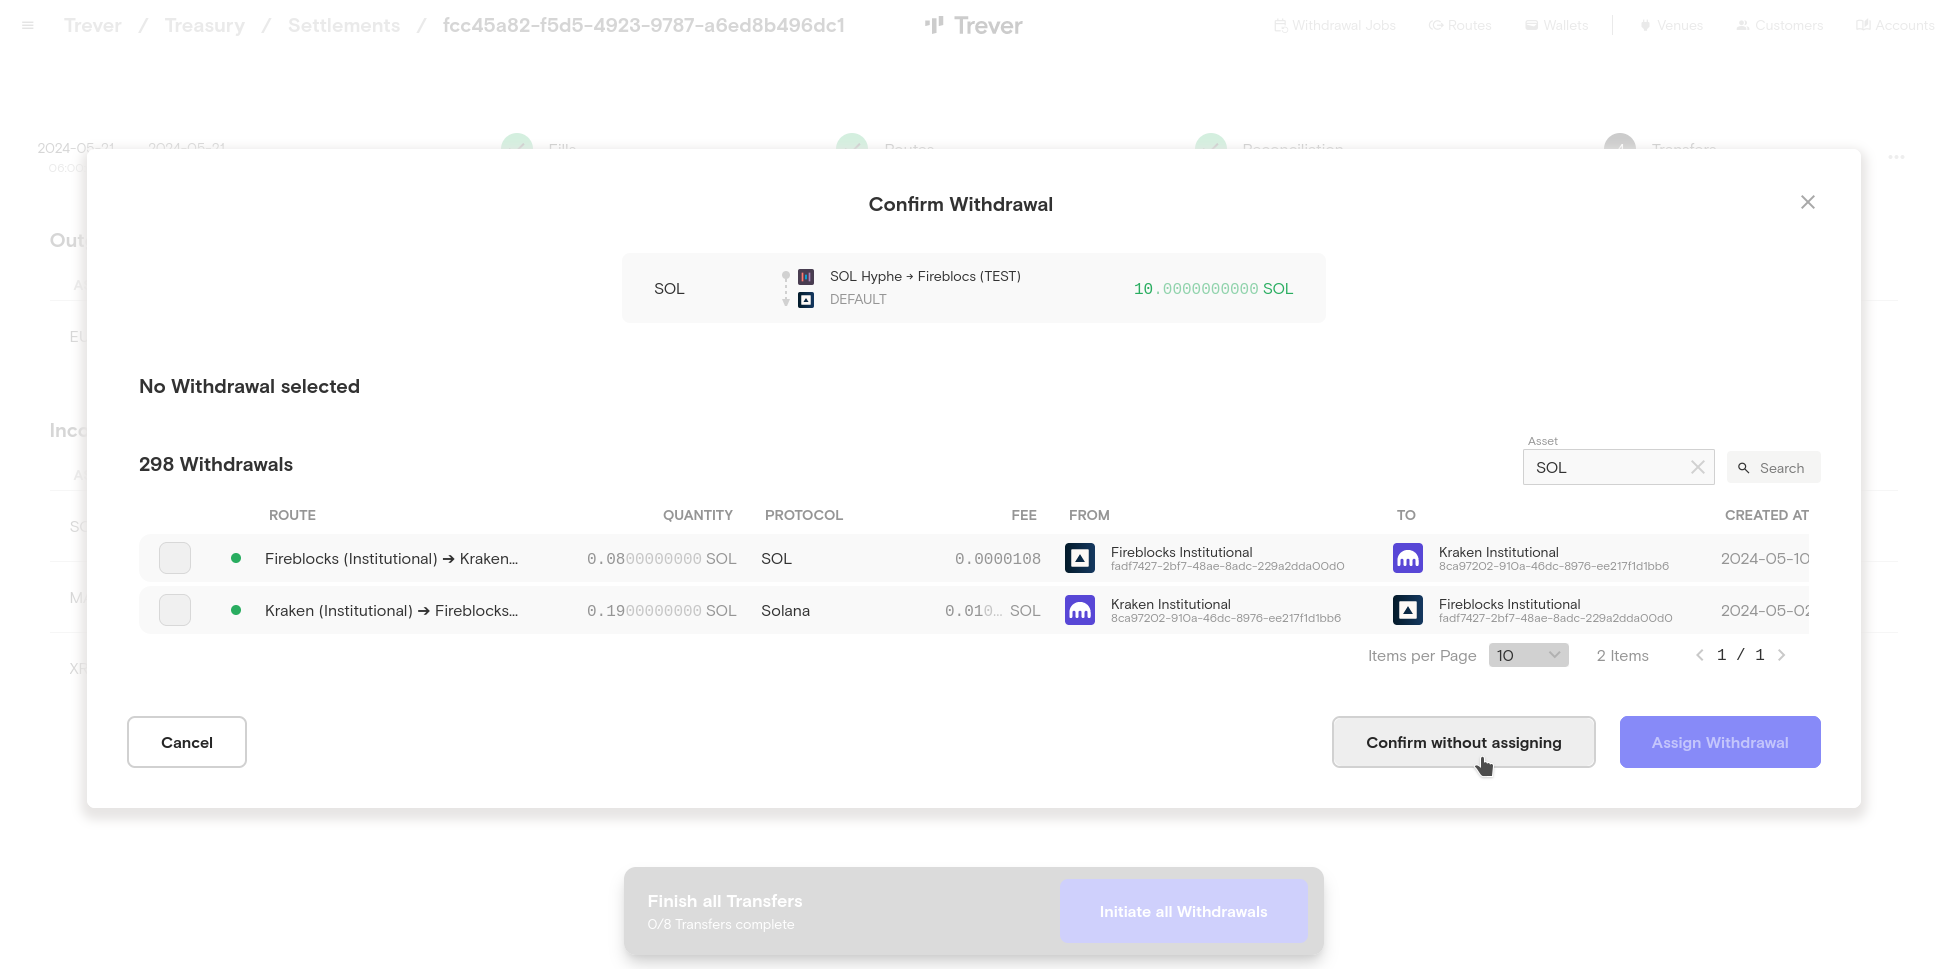
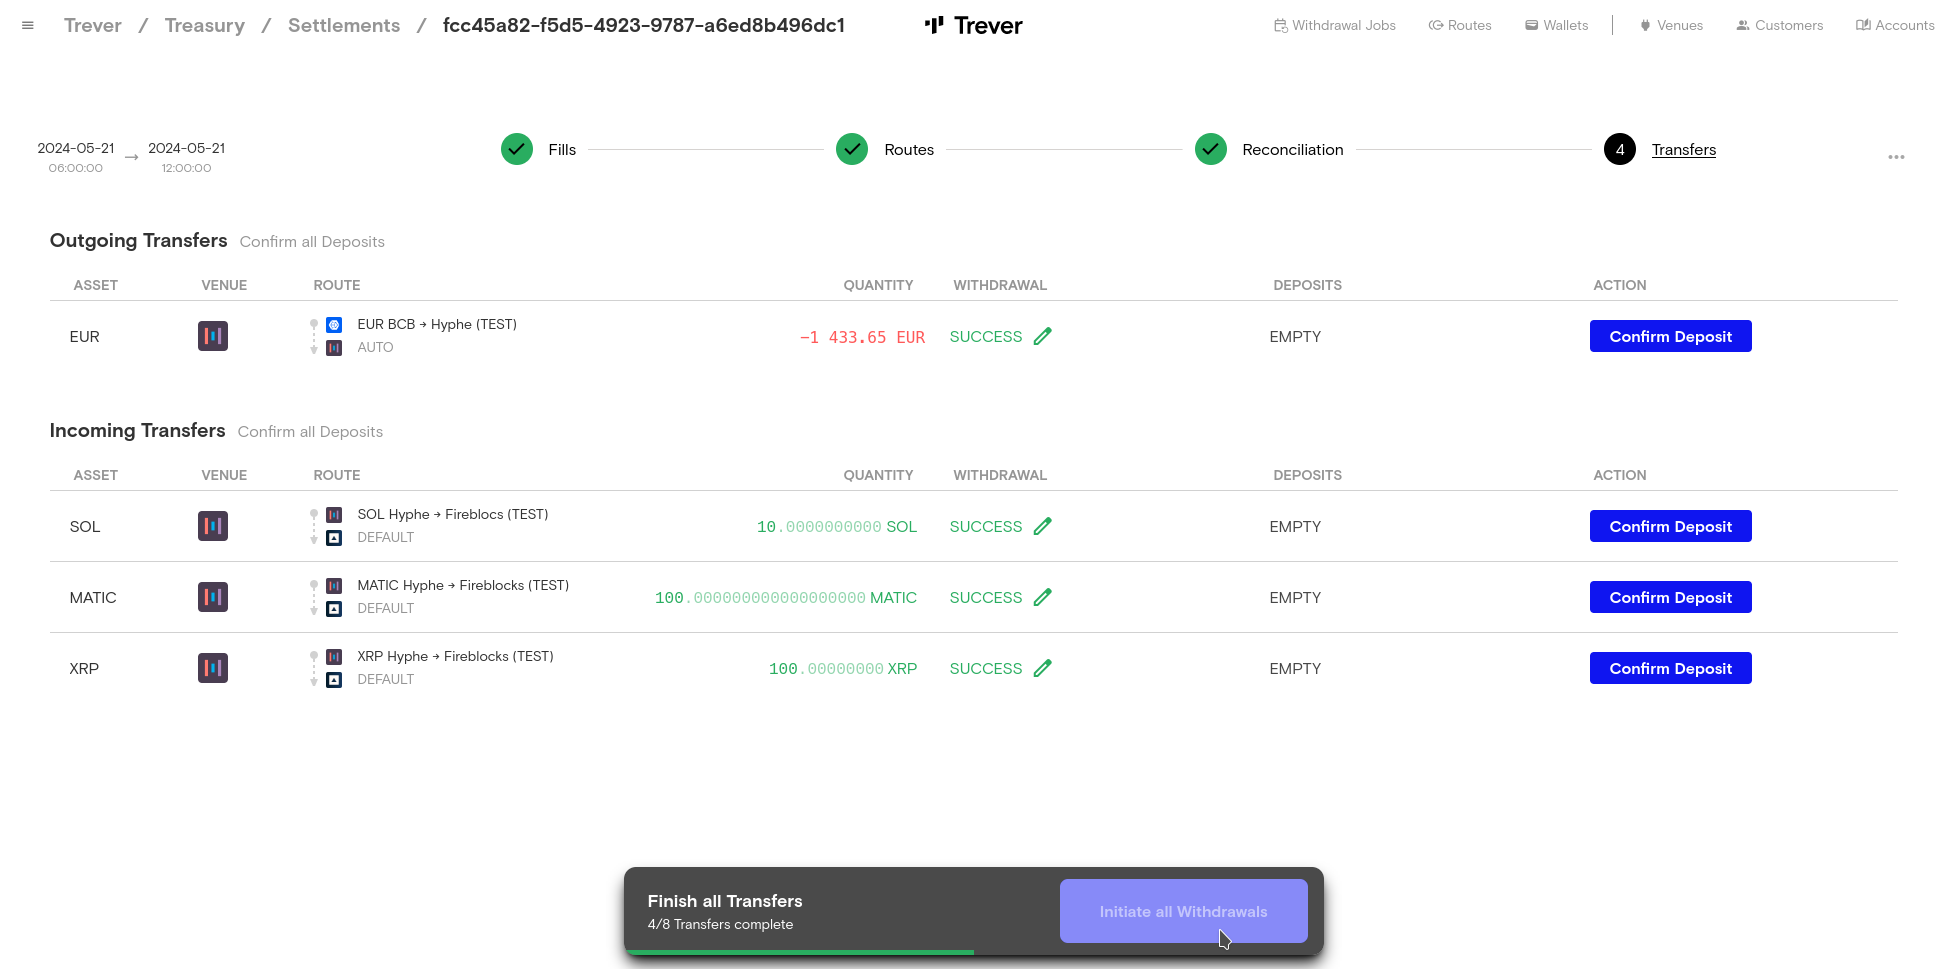
- The last step is to initiate all transfers. The last step is to initiate all transfers. The user can initiate the transfers via the Trever Treasury Service or assign or confirm them manually. To initiate all outgoing withdrawals, the user must click the
Initiate all Withdrawalsbutton at the bottom of the screen. To confirm withdrawals manually, the user can click theConfirm Withdrawalbutton on the respective transaction.
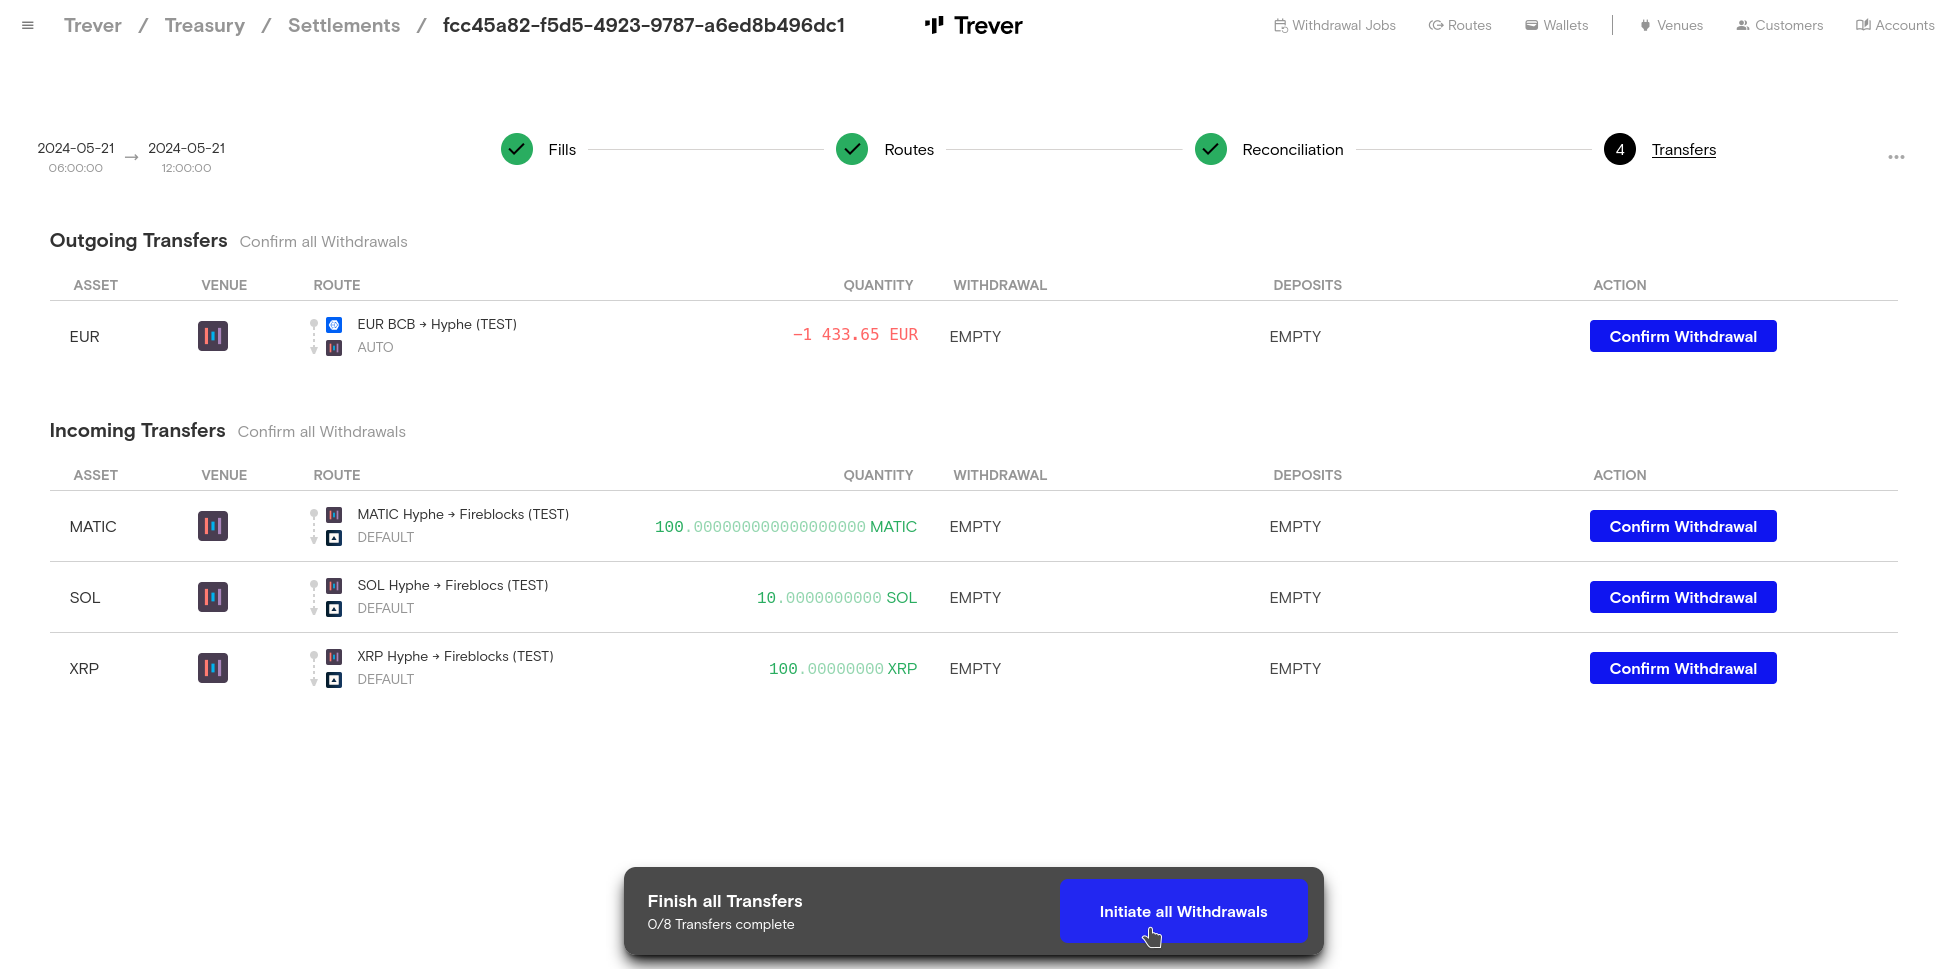
If the user decides to initiate them via the button, they are also assigned automatically. If the initialized transaction fails, the user can trigger it again. Before doing so, however, the Treasury screen should be checked to see why a transaction was not successful.
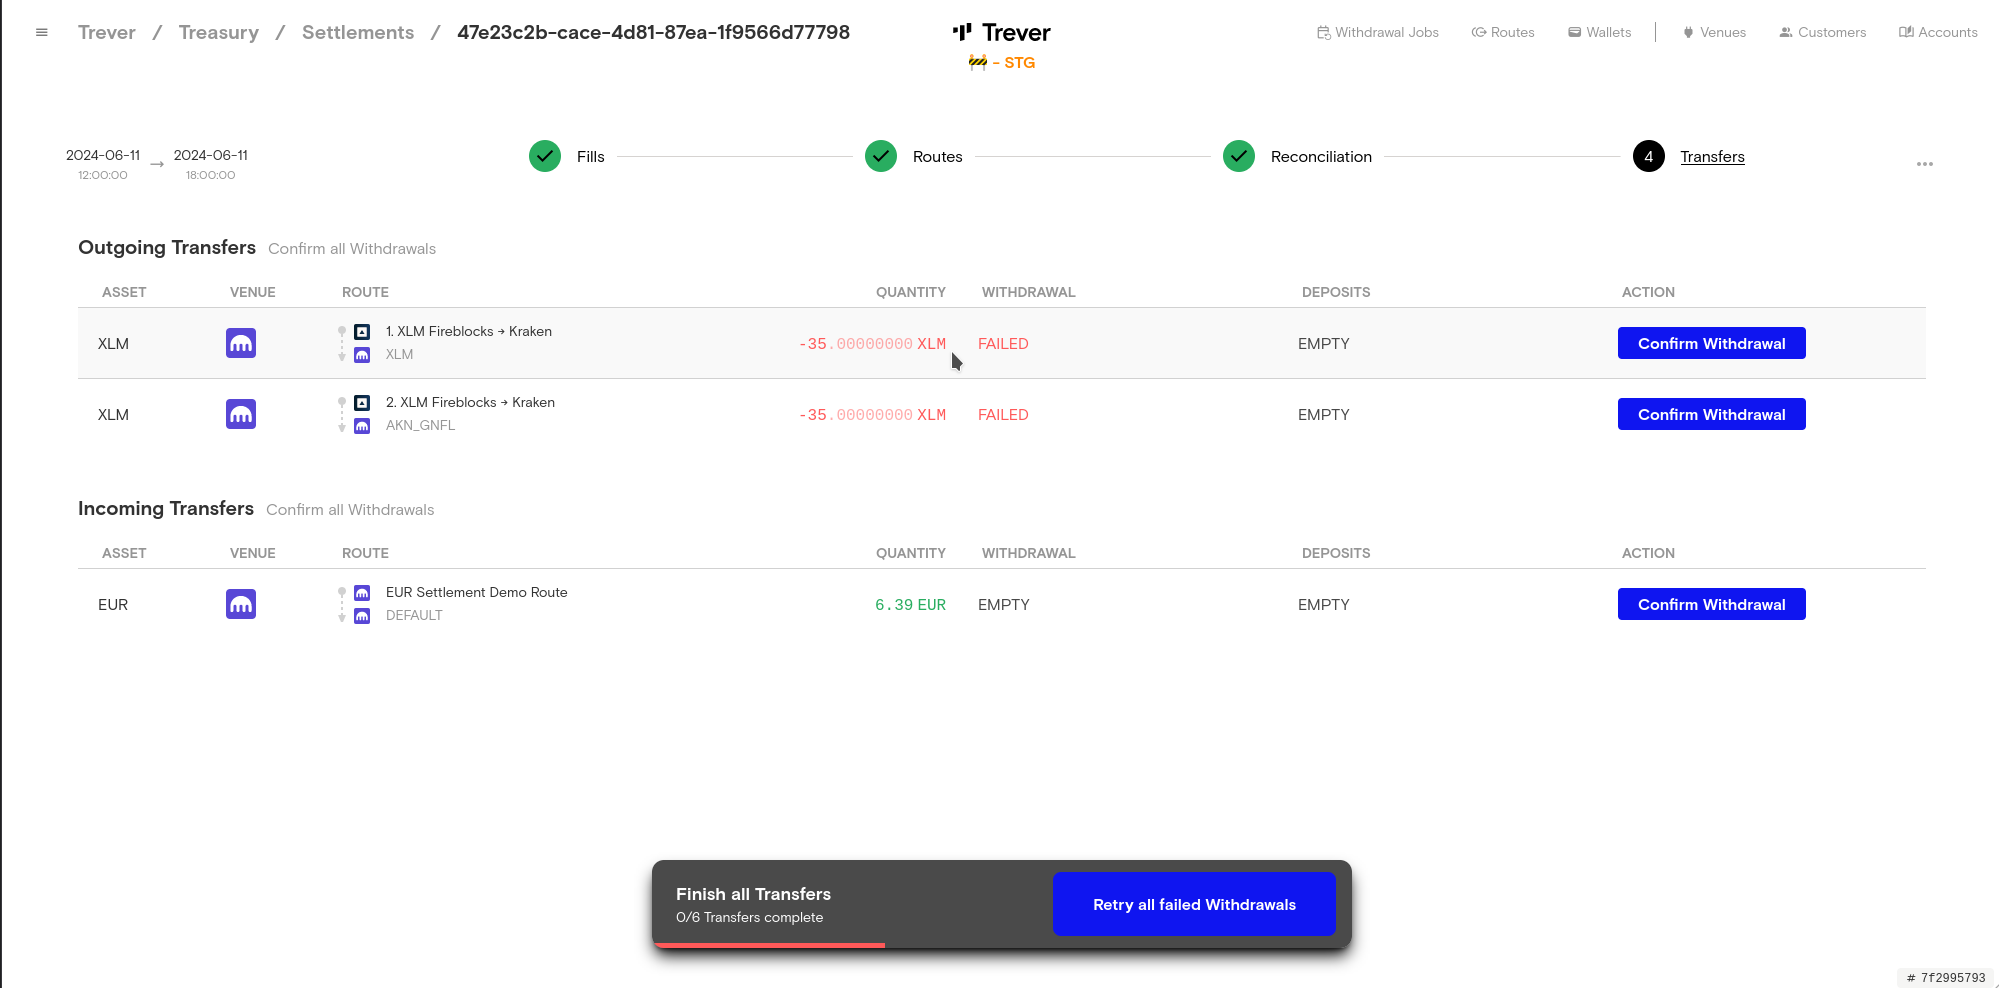
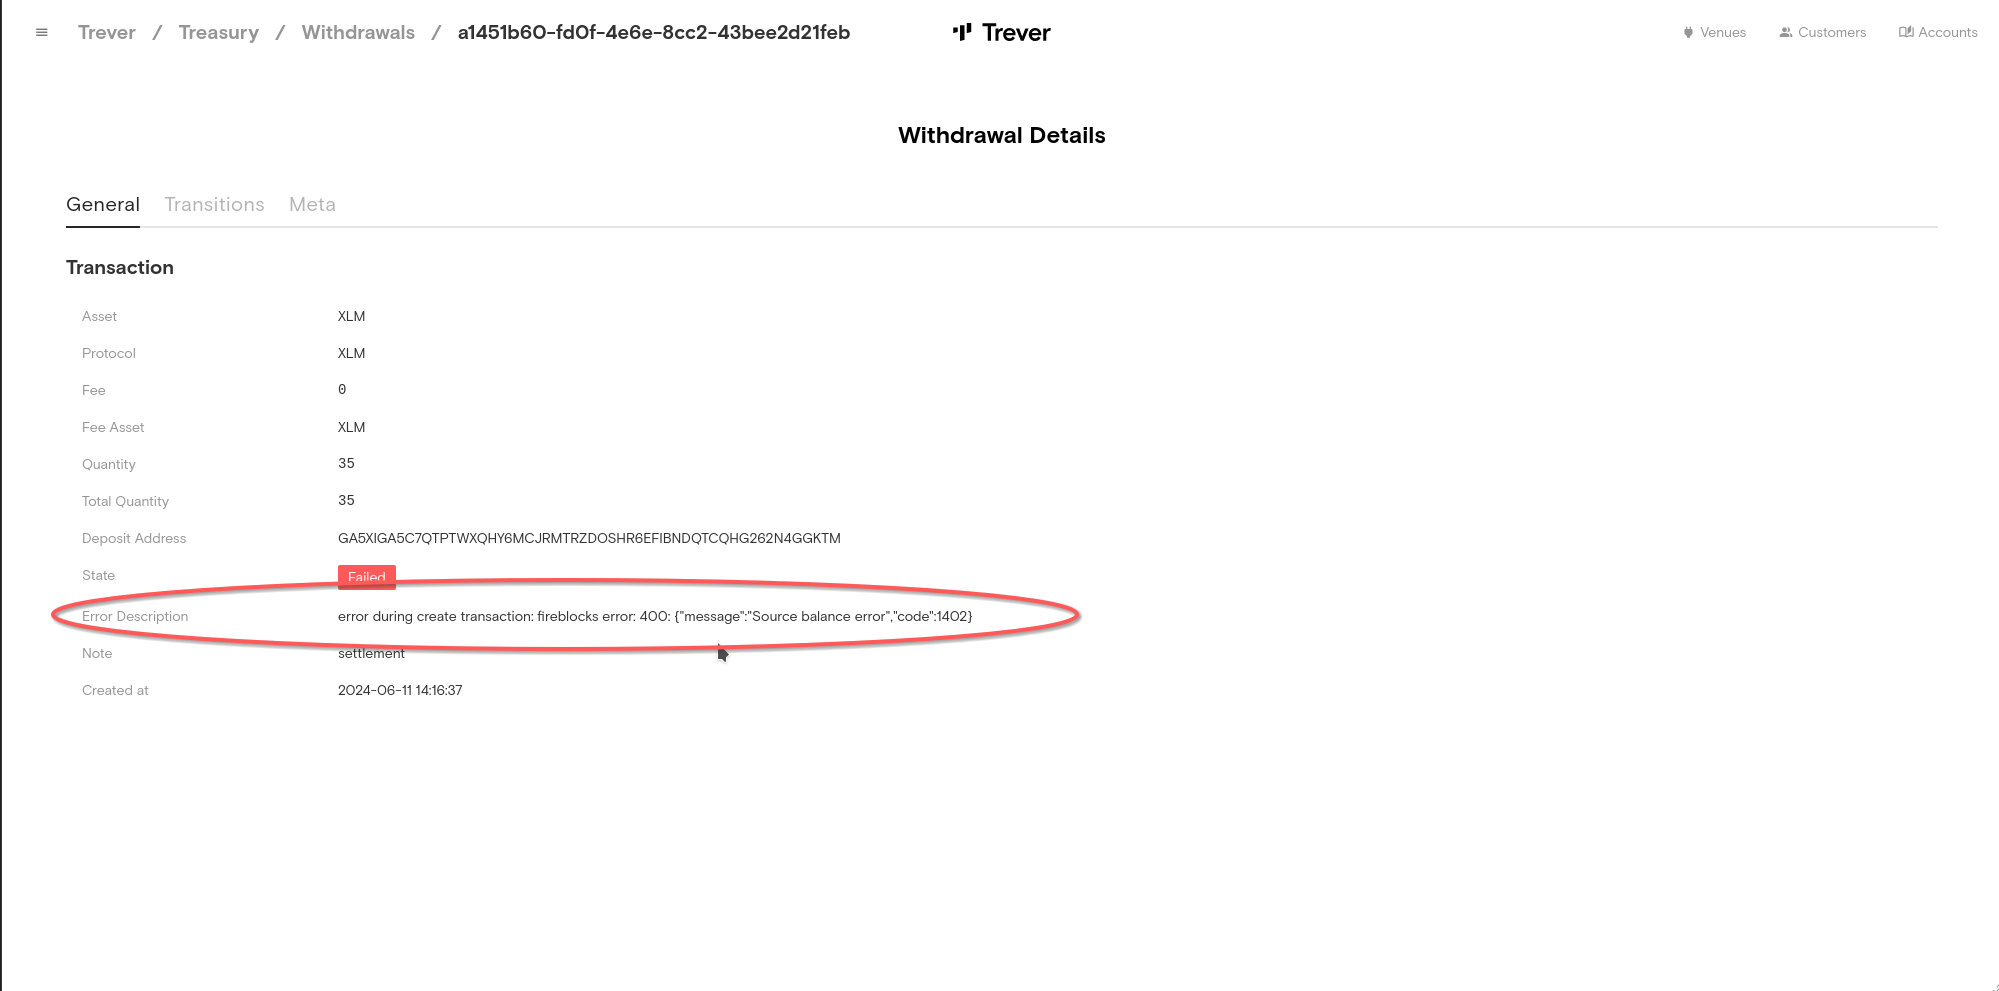
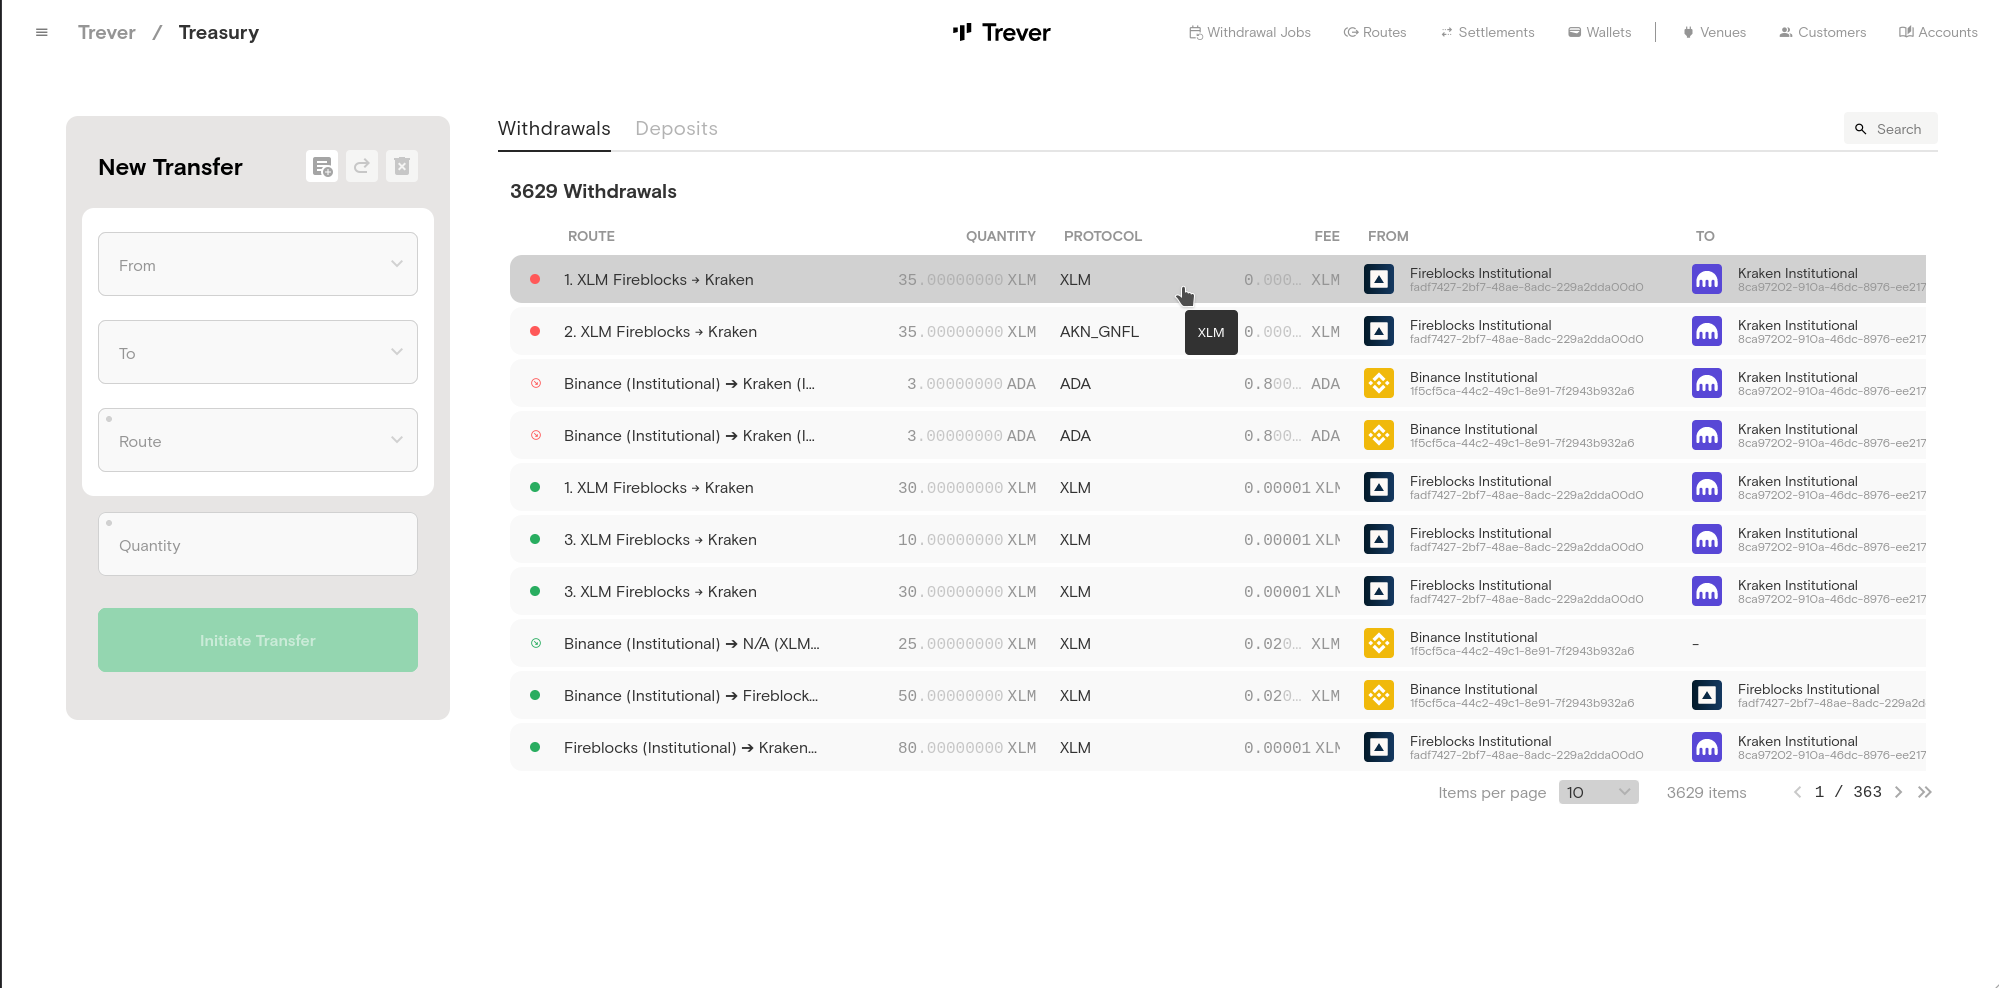 The error message can be viewed by clicking on the transaction. In this example, the Venue Fireblocks has too few assets on the specified wallet.
- The user can now decide whether a withdrawal that has already been made should be assigned to this settlement or whether to confirm the withdrawal manually. This can be the case if a transfer has to be made manually via a bank account that is not part of an integrated venue.
- The same has to be done for the ‘outgoing deposits’. This means that the user confirms that the amount has been received by the trading venue. Of course, this can only be confirmed manually as a deposit can only result from a previous withdrawal and cannot be initiated. Furthermore, these deposits are not the assets that the user should receive but the ones that the trading venue should receive. Trever therefore calls these ‘outgoing deposits’.
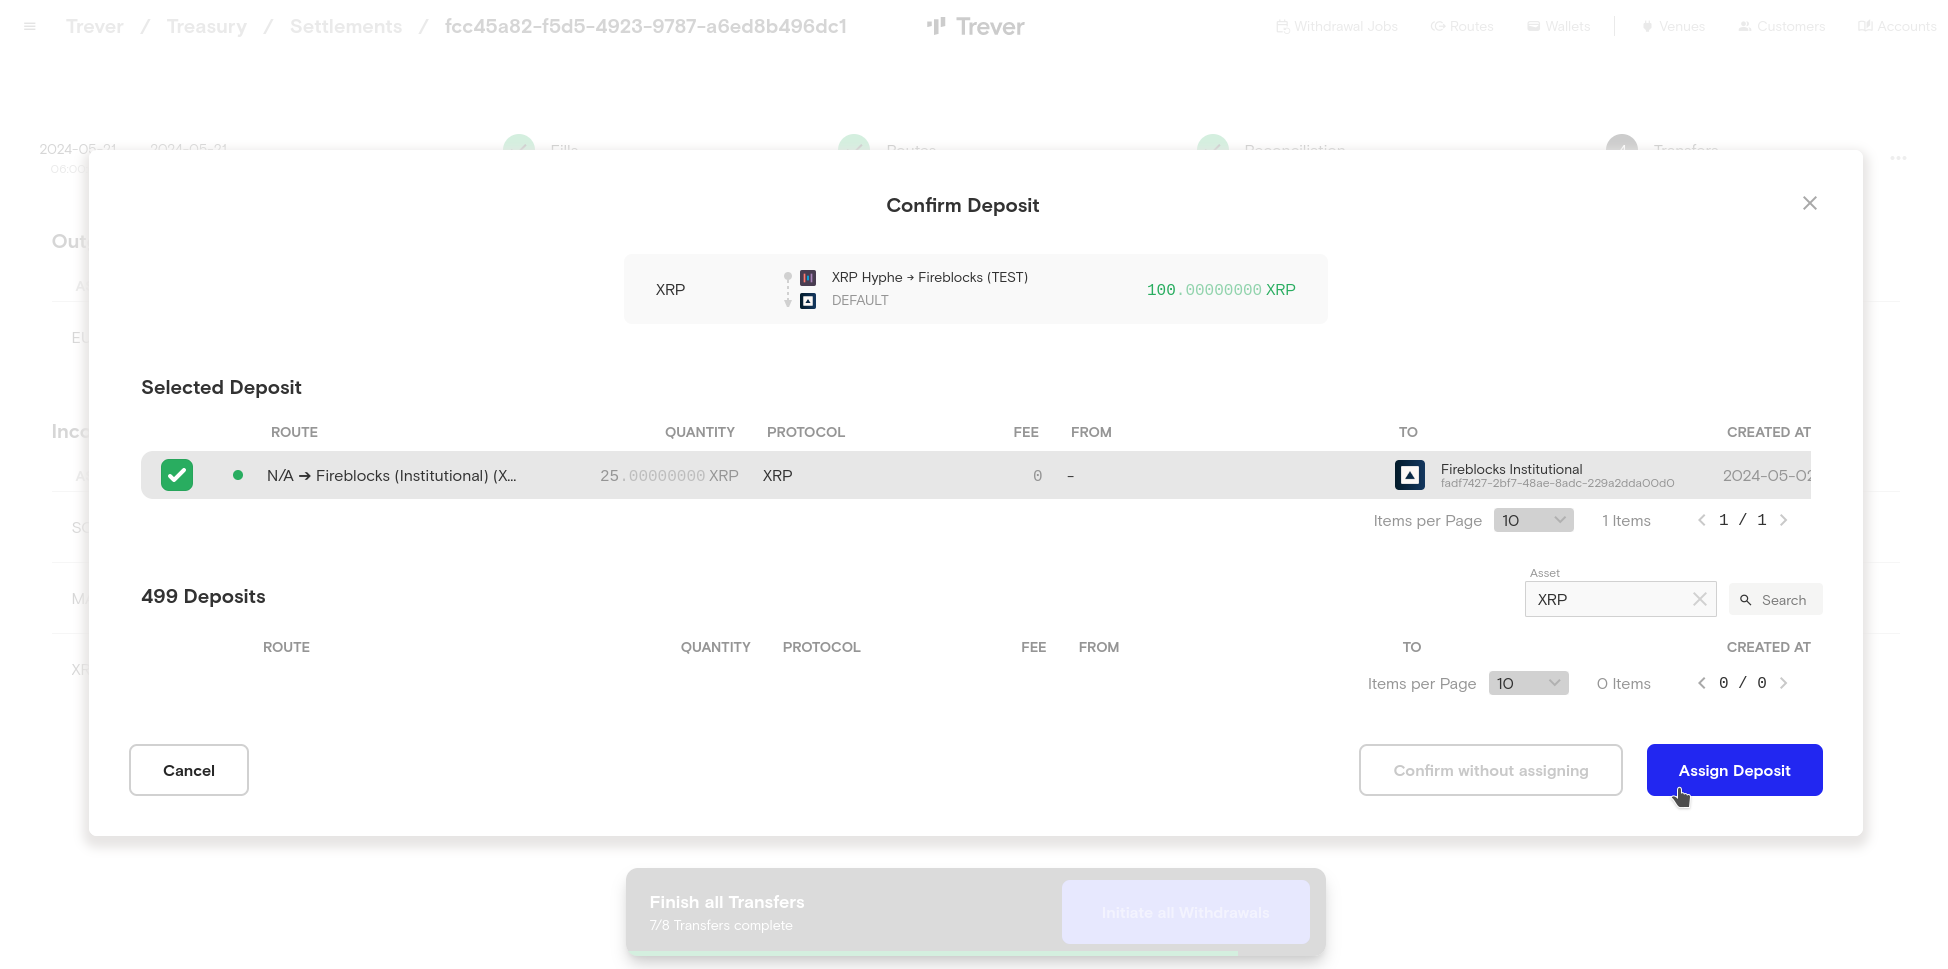
- When confirming the ‘Incoming Transfers’, the user can again decide whether these are confirmed manually or whether a deposit is assigned from the list. Connected venues have a deposit fetcher. All incoming transactions are picked up by this and displayed in a list in Treasury. If a deposit has been received from the liquidity provider, this can be assigned. Of course, several deposits can also be assigned if an amount is to be transferred in several deposits.
- Once all transfers have been made and confirmed, settlement can be completed.
